Sending and Receiving Mail in a Test Account
To send and receive mail in a test account, complete the following steps:
- Check to make sure the mail services are running.
- Click the Services tab and enter your network username and password. The Service Administration page opens.
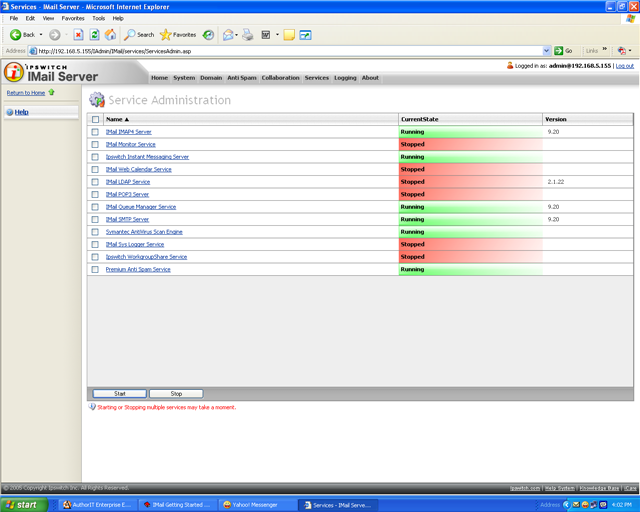
- Check to see if the SMTP, POP3, and IMAP4 services are running. The status displays in the Current State column. The SMTP status starts automatically and should be Running. If the POP3 and IMAP4 are not Running, then select the check box next to each service and click Start.
- Start your email client.
If you are using IMail Web Messaging (Web client), start your Web browser, then enter http://localhost/IClient/
-OR-
http://<IMail Server hostname>/IClient/
For example:
http://123.100.100.80/IClient, then press ENTER. The Ipswitch Web Admin login page appears. - Log on using one of the user accounts you created and send mail to another user. Then check that the mail appears in the email recipient Inbox.
Caution: A version of IMail Client console application is installed with IMail Server. It is useful for reading the "root" mailbox, working with seldom-used accounts, and testing. The IMail Client application should not be used on the IMail Server to view end-user mailboxes because it can cause problems with remote access to the same mailboxes (depending on the user's remote client software).
- Send a test message to test mail service to a remote email address outside of the local network. If you are connected to the Internet, send mail to imailtest@ipswitch.com.
- When you are satisfied that the mail server works properly, add email domains (hosts) and users as needed.