Resiliency - Sample Configurations - NLB on Windows 2003
Follow these instructions for installing Windows Network Load Balancing on Windows Server 2003.
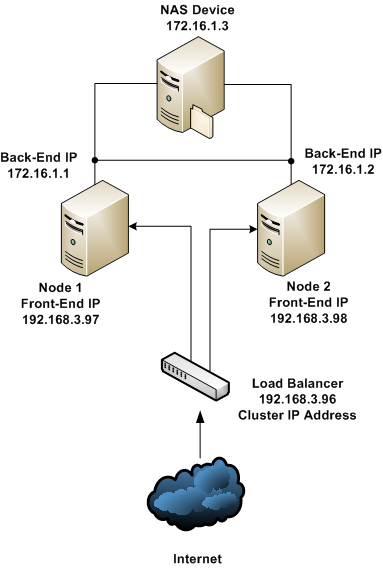
The following screenshots were taken from a configuration matching the following network diagram.
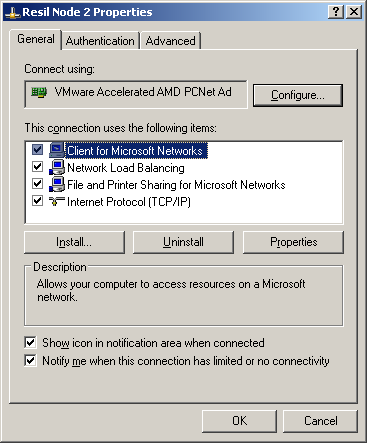
- Install Windows Network Load Balancing on each server from the Network connections panel.
(Install->Service->Network Load Balancing...)
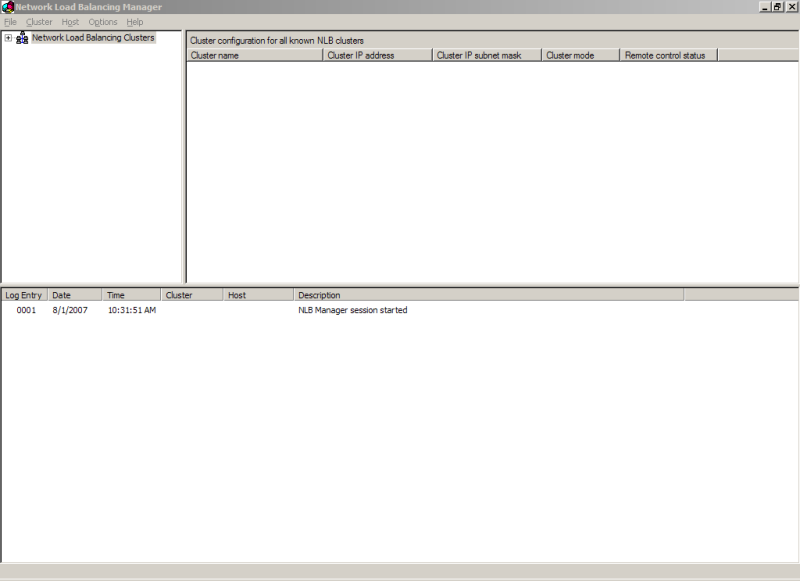
- Bring up the Network Load Balancing Manager from Administrative Tools.
- Click Cluster->New to be prompted with the "Cluster Parameters" window.
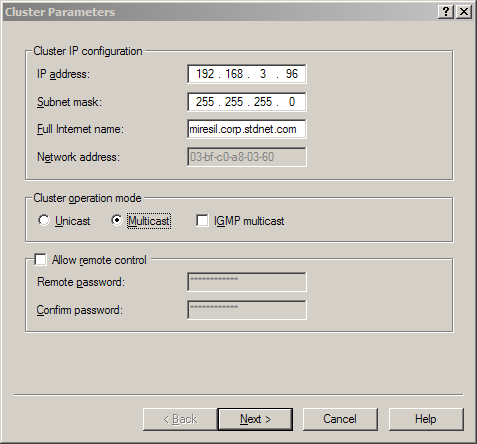
- Enter the EXTERNAL IP address which the MOVEit DMZ's will "share" and choose "Multicast" for operation mode.
Then click "Next".
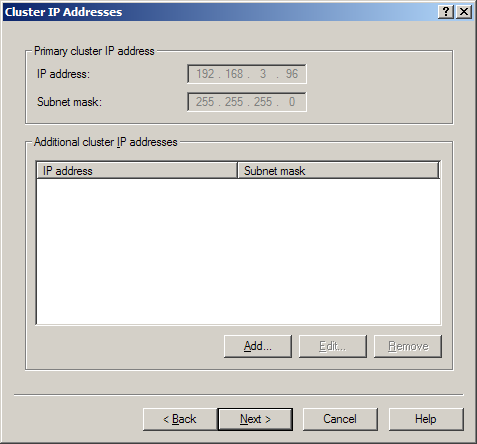
- It is usually best to leave the "Additional cluster IP addresses" section blank.
Most of the time a single "Primary" IP address is all that needs to be shared among
the MOVEit DMZ cluster.
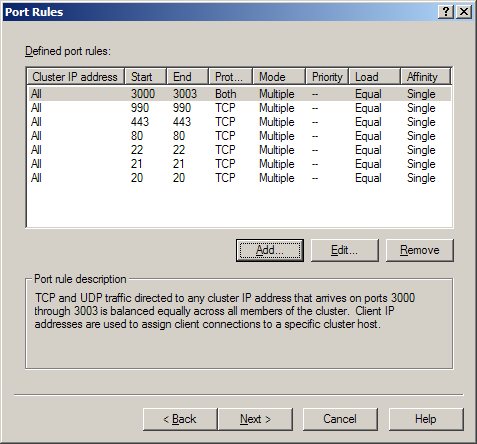
- Configure your port settings.
In some situations, sticking with the default of "all ports" will be sufficient,
but you will want to configure specific ports if you are using Terminal Services
or some other remote control software to access each node in the MOVEit DMZ cluster.
A more reliable setup is to only
add the ports needed by your MOVEit DMZ system.
(For example: 20,21,22,80,443,990 and the passive FTP data ports).
Once you have the proper list, click "Next".
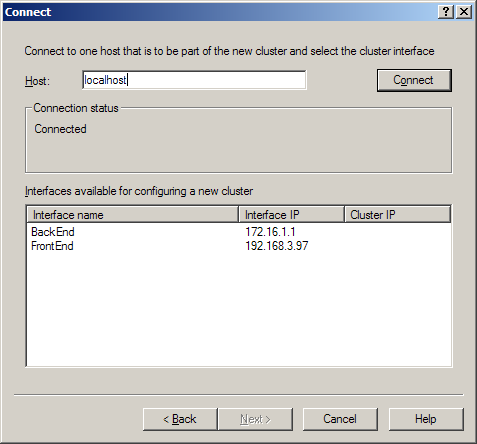
- At the next step, when asked to connect to a machine, opt to connect to "localhost".
- Choose the adapter that has the External IP address and then click "Finish".
- At this point there is a one-host network cluster.
Repeat steps 5-6 with the External IP address of the second machine to add it to the cluster too.
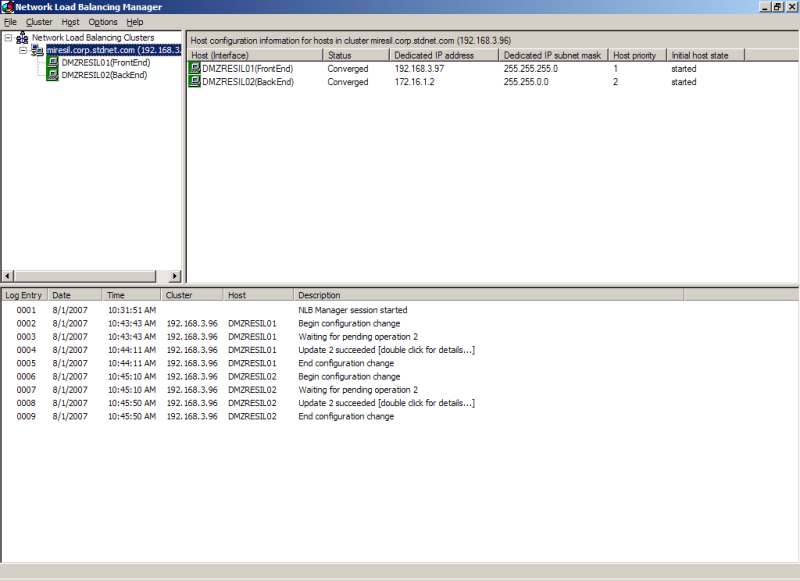
- Once all hosts have been defined, the "Network Load Balancing Manager"
windows should look much like the following.
