Click Start -> Programs -> Administrative Tools -> Internet Information Services Manager (IIS Manager). Select the web site you wish to work with and Right-Click then select Properties. Click on the Directory Security tab then click Server Certificate.... This will start the Web Server Certificate Wizard.
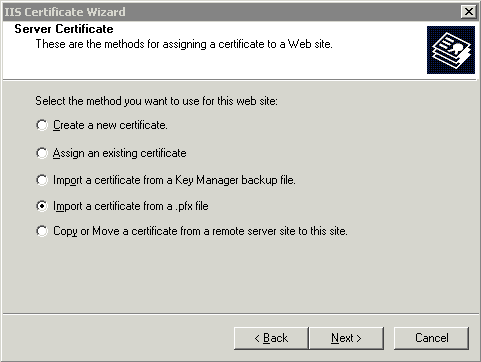
Select import a certificate from a .pfx file. PFX is a common format used to store both the public and private keys of an SSL Certificate.
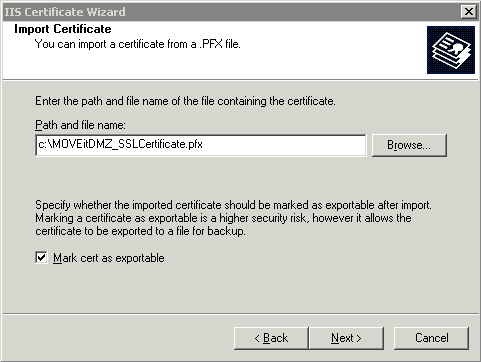
Browse to the file and select Mark this key as exportable then click Next.
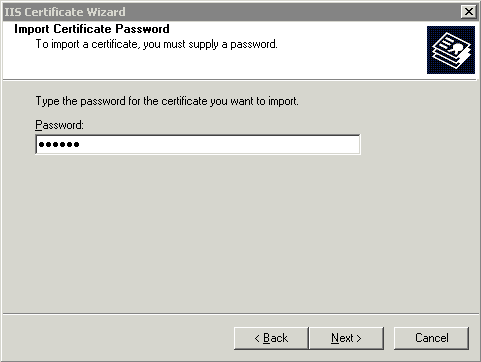
Type the password and click Next.
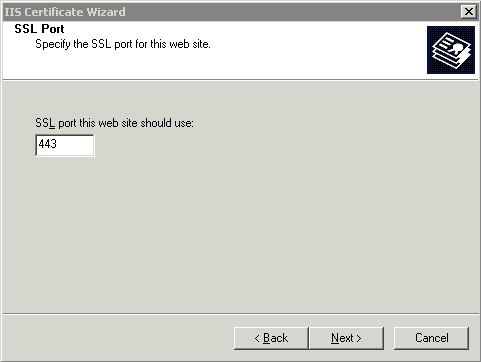
Select port (almost always 443) to use click Next.
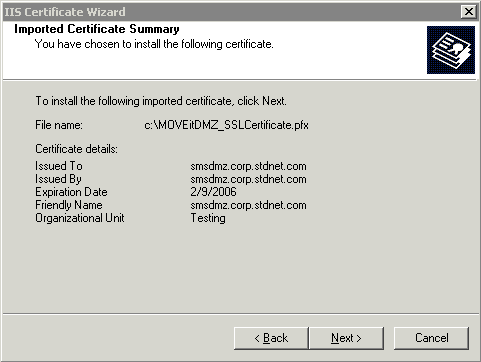
Verify the certificate summary and click Next.
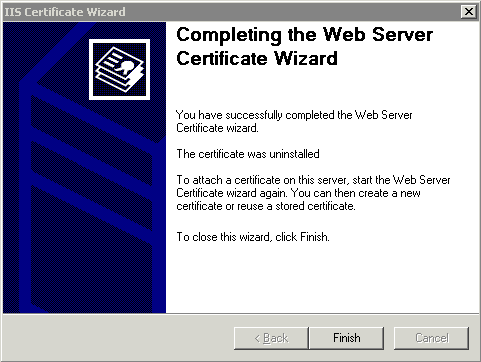
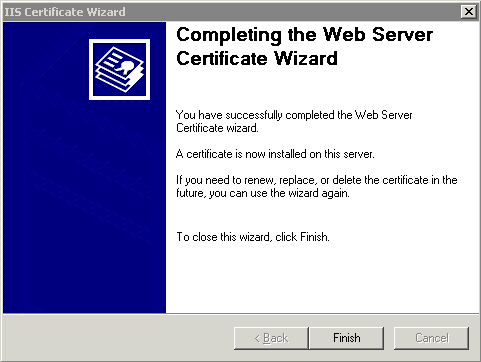
The certificate is now imported into IIS, click Finish.
The certificate now needs to be assigned to the MOVEit DMZ FTP Server.
Click Start -> Run and type mmc.
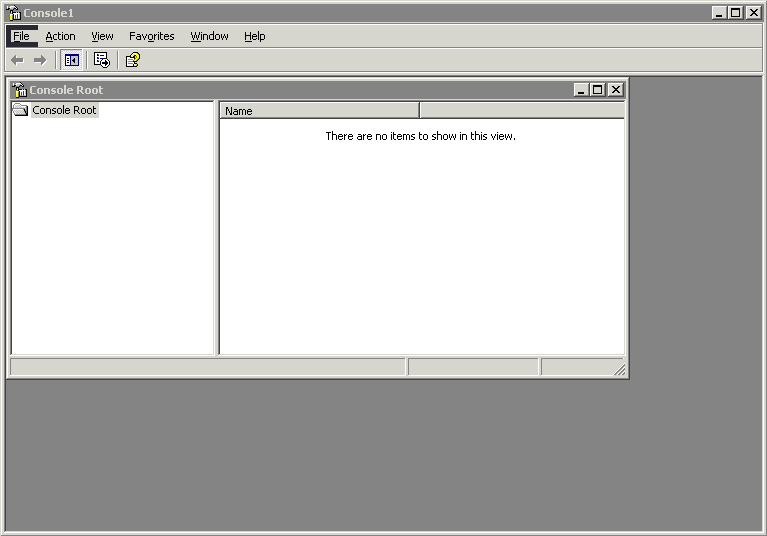
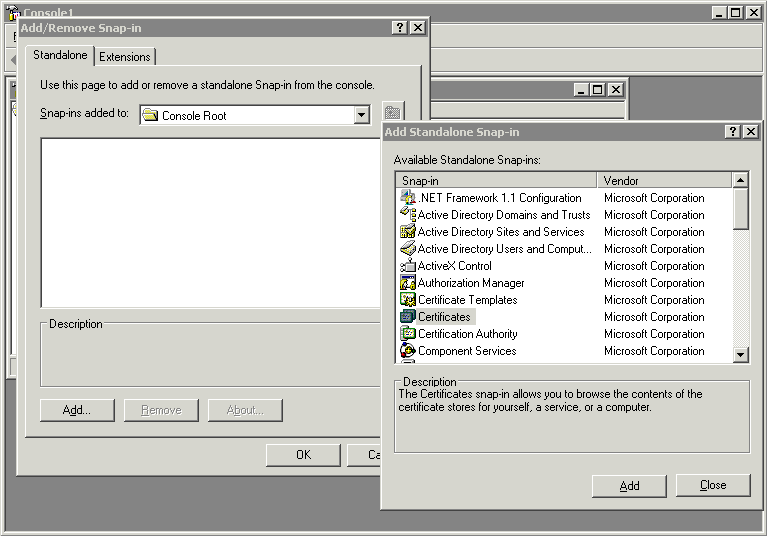
Click File then pick Add/Remove Snap-ins and select Certificates and click Add.
Select the Computer Account and click Next.

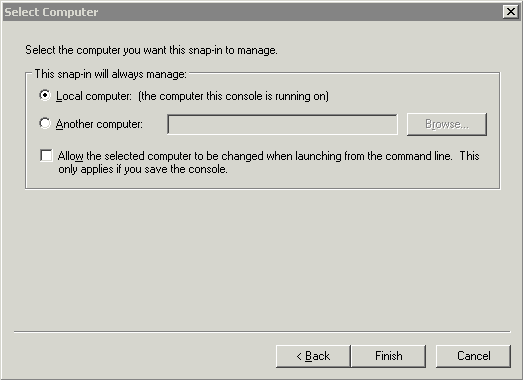
Select Local Computer and click Finish.
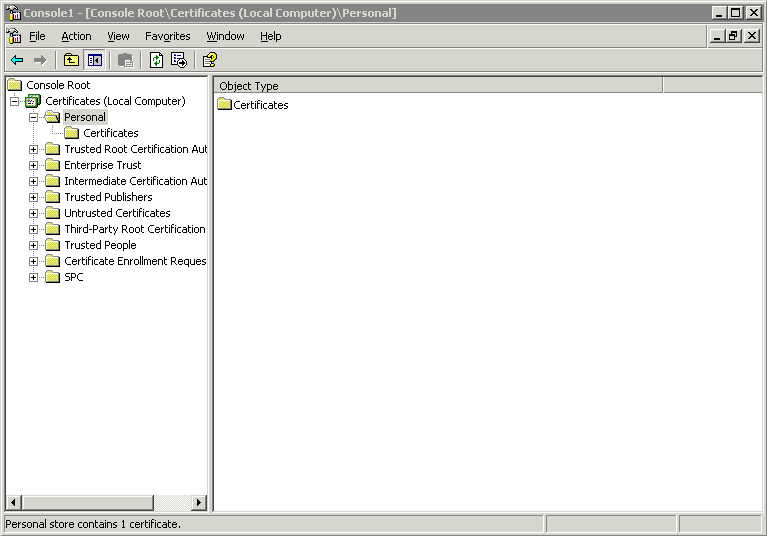
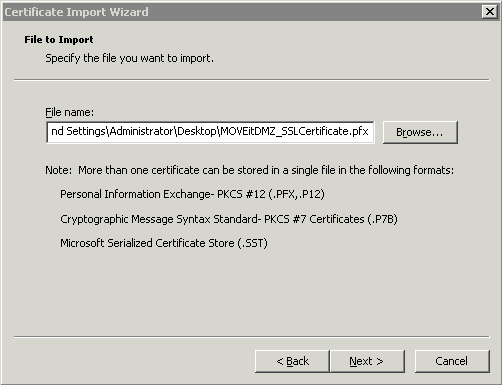
Now you have the Certificates Snap-in added. Select the Personal store and expand so you see Certificates. Right-Click on Certificates and select All Tasks and then pick Import. This will start the Import Wizard.
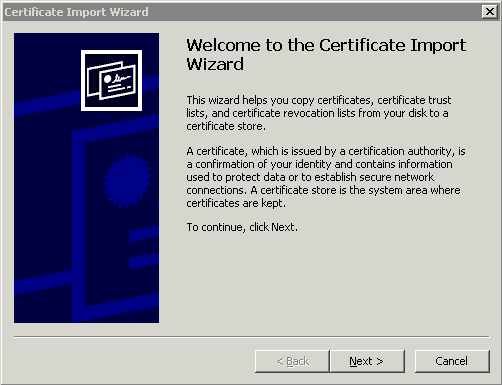
The Certificate Import Wizard, click Next.
Select the certificate you would like to import and click Next.
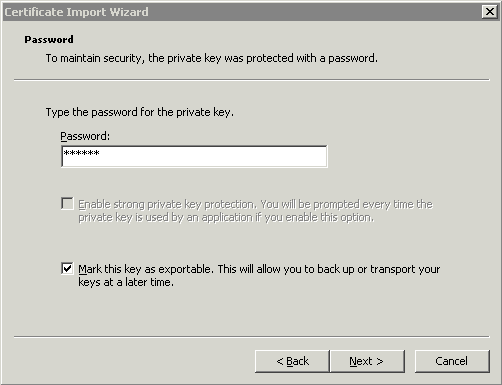
If the certificate was exported with a password type the password and select Mark this key as exportable and click Next.
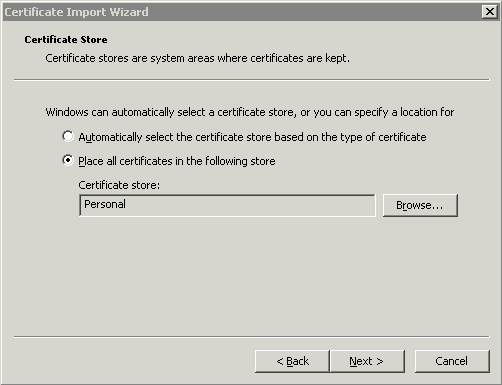
Place all certificates in the Personal store and click Next.
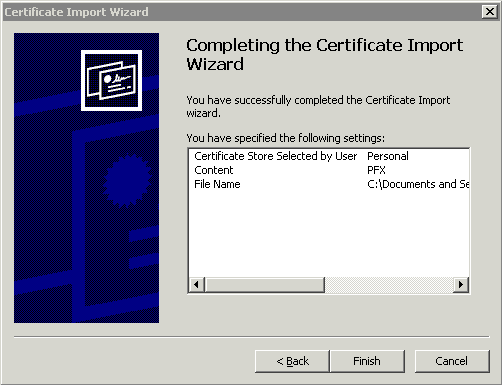
Verify the certificate import settings and click Finish.
If the import is successful a message similar to the one below should be displayed.

The certificate is now installed into the system and can be assigned to the DMZ Components.
Click Start -> Programs -> Administrative Tools -> Internet Information Services Manager (IIS Manager). Select the web site you wish to work with and Right-Click then select Properties. Click on the Directory Security tab then click View Certificate....
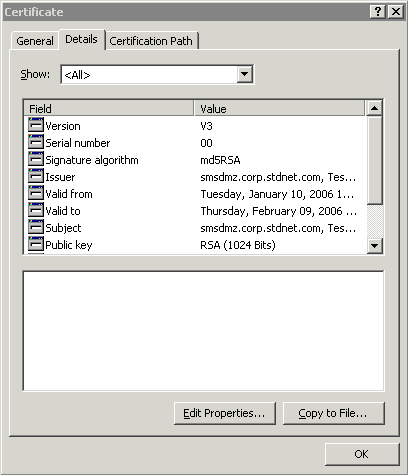
Click the details tab and select Copy to File...
The Certificate Export Manager should be started, click Next.

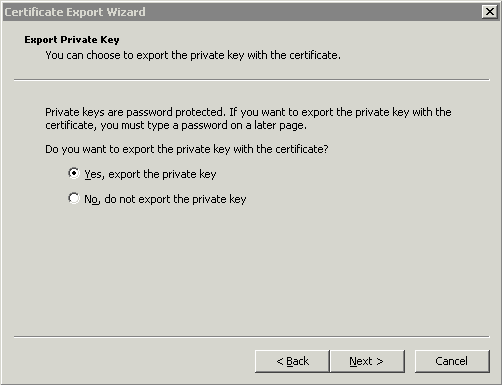
Click Yes to Export the private key.
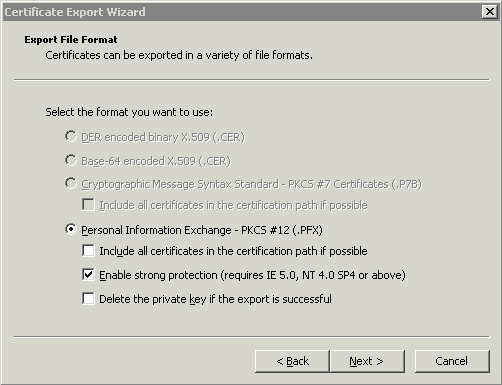
Select the .PFX format and check Strong Encryption then click Next.
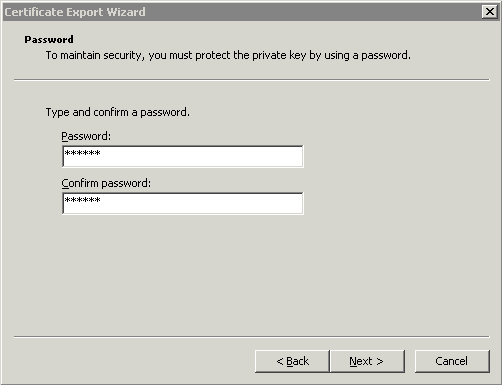
Type in a password to secure the private key.
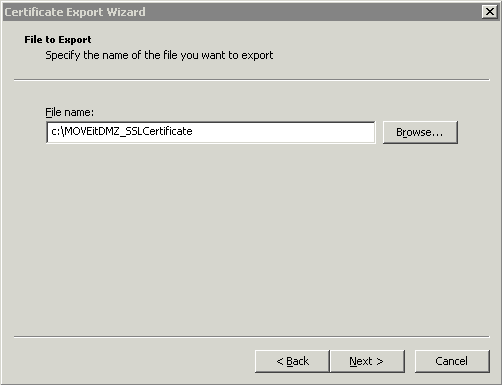
Specify a filename to save the certificate.
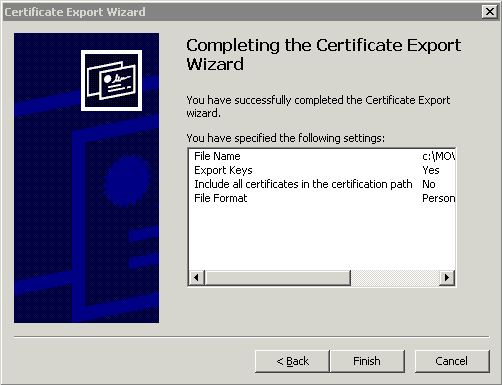
Verify the certificate export settings and click Finish.
If the export is successful a message similar to the one below should be displayed.
The certificate is now ready to be used or installed on another system.
This assumes you already have an SSL certificate installed. Click Start -> Programs -> Administrative Tools -> Internet Information Services Manager (IIS Manager). Select the web site you wish to work with and Right-Click then select Properties. Click on the Directory Security tab then click Server Certificate.... This will start the Web Server Certificate Wizard, click Next.
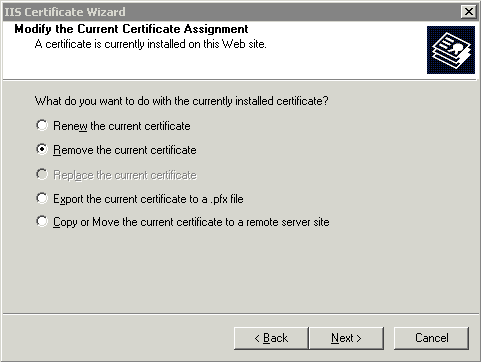
Select Remove the current certificate and click Next.
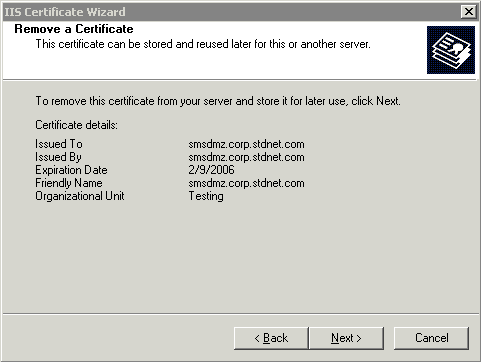
Verify the certificate that is about to be removed and click Next.
The certificate has been removed click Finish.