![]()
![]()
![]()
![]()
|
|
|
|
|
Sending a package is like sending an email with attachments. As such, it is a familiar process, and uses a form similar to a compose email form. The Package Actions section may appear on the Home page and/or the Packages page:

Note: An option enables the "note" to be sent securely, through MOVEit only. Alternatively, the note can be included in the emailed notification, for a personalized touch.
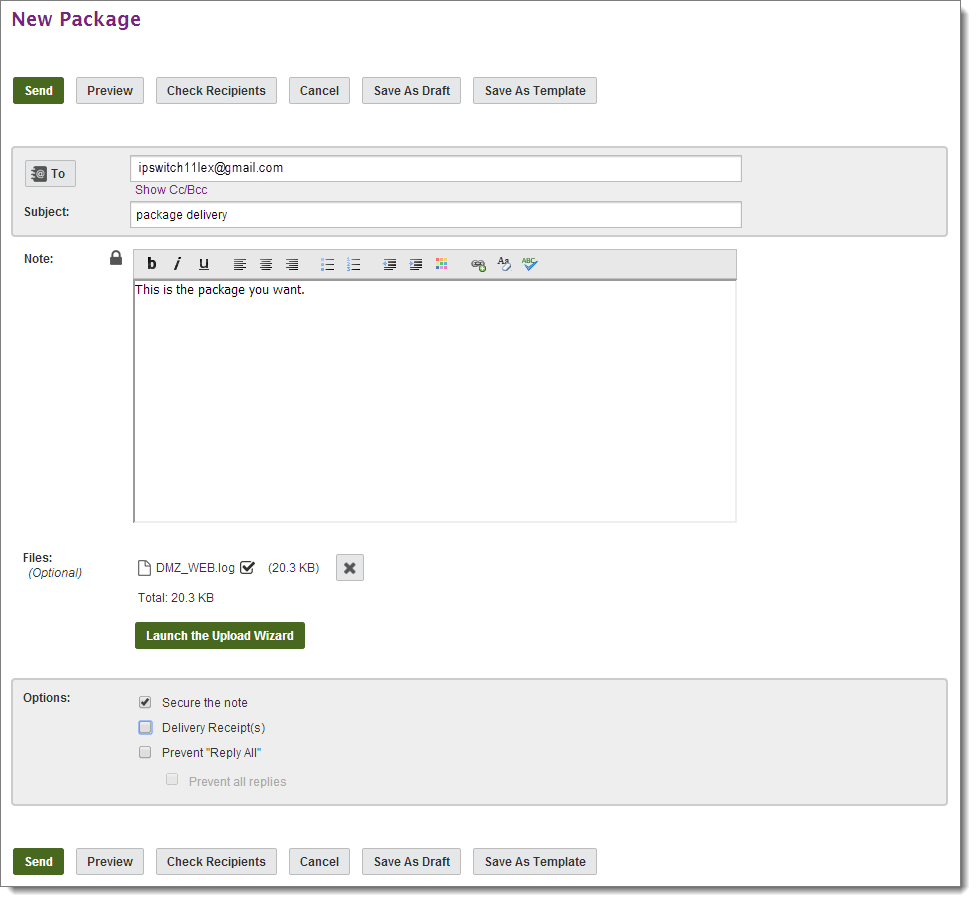
Rich Text Editor: You may see a rich text editor where you can type your note. In this editor, buttons above the editing box let you change the font, size, style, alignment, indentation, and even color of the text you enter. You can also enter links and lists. Two editors are available depending on the user's browser and that browser's configuration. Users of Internet Explorer, Firefox or Mozilla browsers with JavaScript enabled, will be able to use a rich text HTML editor. This editor lets you add color, change fonts, and add bold, underlined, and/or italicized text to your note and see what it will look like immediately. A Clear Formatting link is also provided to remove all HTML formatting, to facilitate copying in content from various different sources, and making it all look the same. Users who are not able to use the rich text editor will be provided a standard text box in which they may edit their package. This text box allows the entry of standard HTML tags for use of color, bold, underlines, and italics, but the text will all appear plain.
Check Spelling: You may also have a Check Spelling button available, which will check the spelling of both the package subject and the note. Misspelled words will be highlighted and you may use your left mouse button to select appropriate replacements as well as options to ignore that specific word, or all instances of that word. Click Finish to finish the spell-checker.
Note: The spell-checker will not run against notes that contain one or more sequences of characters that are longer than 1,000 characters and are not separated by spaces. If such sequences are detected, an error message will be returned and the spell-check will be aborted.
Note: Depending how your system is configured, you may see the Upload/Download Wizard Status at the bottom of the page.
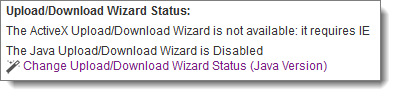
See Install the Upload/Download Wizard for information on how to install the wizard to upload files easier and more securely.
Proceed to step 8.
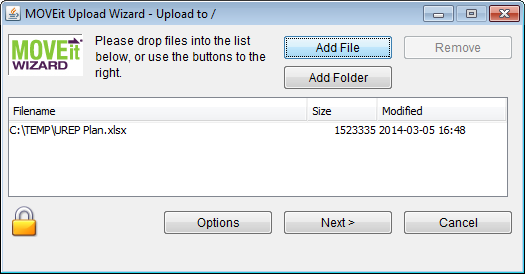
The files do NOT have to be from the same directory. The Upload Wizard can handle files from several different directories (or even drives) at the same time.
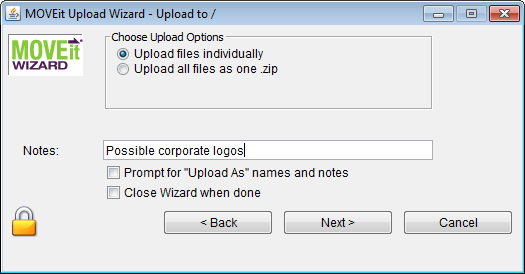
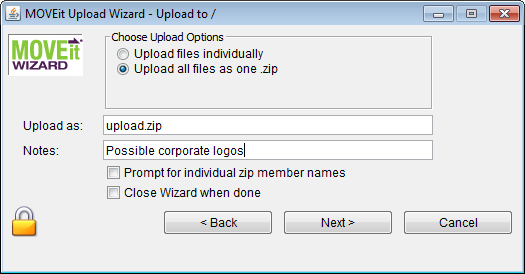
Note: The .zip file format cannot accommodate zipfiles larger than 4GB, so the Wizard will refuse to create a .zip file if the total size of the data files is greater than about 4 billion bytes.
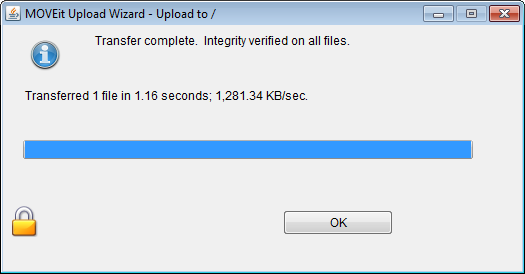
As soon as the transfer begins, a progress bar will display how much of your transfer has been completed. (The same information will also be displayed in a short text area nearby.) When it is complete, you will see a transfer summary displayed.
Note: If your administrator has enabled content scanning, and a virus or data policy violation is detected in a file you selected for upload, the Upload Wizard will display an error and either block or quarantine the file. If you selected multiple files for upload, the Upload Wizard will upload all but the infected (or policy violating) file. Filenames and entries in the Notes field are also scanned for data policy violations.

Note: When a file is added to the package, the file is uploaded to the MOVEit Server. If you click Cancel to stop composing the package, the file is removed from the server. If you click Save as draft or Save as template the file remains on the server.
Note: If an option has been 'locked' by the administrator, the value will be displayed, but you will not be able to change it.
A 'new package notification' email will be sent to your recipients, to inform them that a package is waiting for them. Recipients can click on the web link in this notification to connect to the site and view the package.
Sending to Unregistered Recipients: If you sent the package to an unregistered recipient (recipients that are not MOVEit users), you may be prompted to provide a password, as shown:
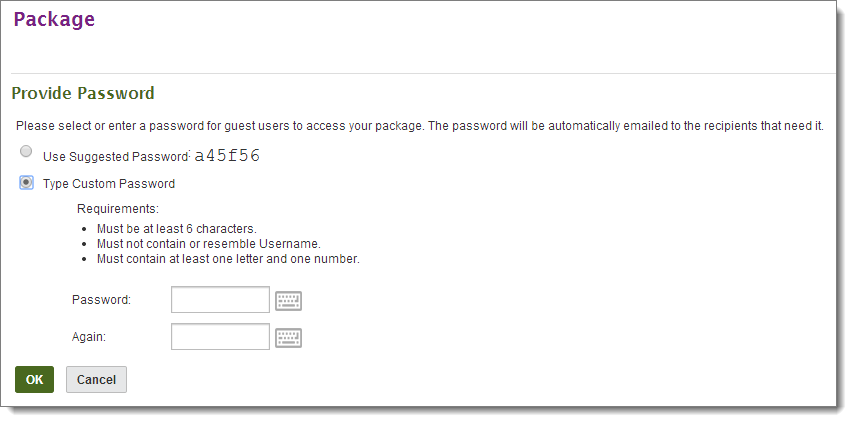
In this case, you will need to open the sent package to view the password, which you will need to provide to unregistered recipients by sending it as a separate email, a phone call, fax, etc. in accordance with your organization's security policy. If you are a registered user, this MOVEit help contains another topic with more detail about the password options. See Web Interface - Packages - Sending.
Recipient Reconciliation
When the Send button is clicked, MOVEit will attempt to reconcile the email address(es) into an existing user, using the following rules: