![]()
![]()
![]()
![]()
|
|
|
|
|
Overview
Consider using Windows Server's IIS SMTP server as a local mail relay on your MOVEit Transfer system if any of the following conditions apply.
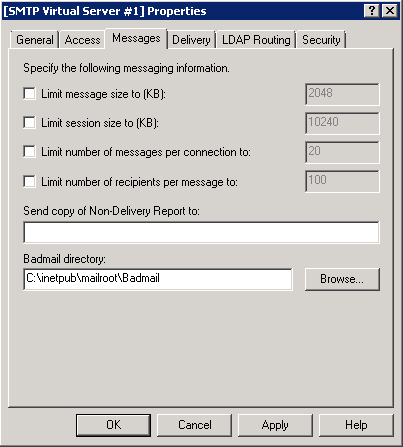
MOVEit Transfer sends out new file notifications and upload confirmations immediately after saving the related file to disk. While this approach affords near real time response, it also forces MOVEit Transfer to wait for each message to be sent before another can be attempted. When MOVEit Transfer is dealing with busy mail servers or a lot of recipients, the upload process will spend more time sending email than saving files. To keep MOVEit Transfer from having to wait up to 10 seconds for each message to be sent, we can instead spool these messages to the local SMTP server, which will then spool these mail messages out to real email servers when they are better able to accept the traffic.
If a local mail relay server is configured, MOVEit Transfer can use this to queue up outgoing mail instead of going directly to the main mail server. This frees MOVEit Transfer up to move on to other tasks, and can provide a noticeable improvement in responsiveness for most file transfer operations.
Instructions
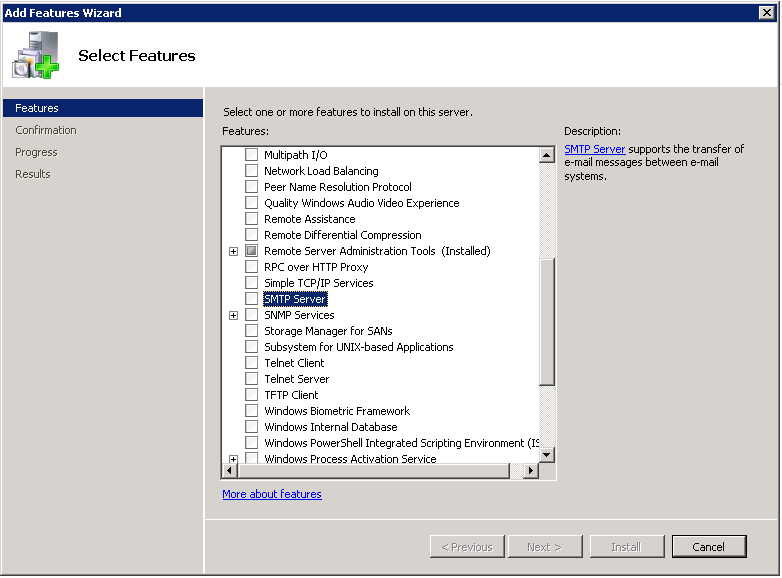
Note: If SMTP Server is already installed, you will see it already selected, grayed out, with (Installed) after it.
The Add Features Wizard displays.

Tuning
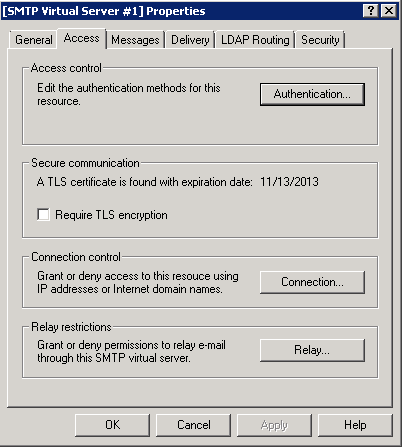
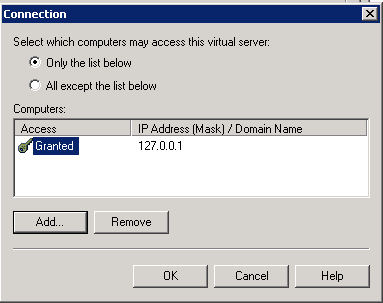
You will probably want to tinker with the outgoing connection limit (default is 1000) if one of your goals is to keep MOVEit Transfer from overloading your real mail server. (Typical throttled values are from 1-5.) To alter this setting, open the SMTP properties, go to the General tab and open the connection dialog.
Finished
Your local SMTP relay server should now be set up, and your MOVEit Transfer server configured to use it.
Troubleshooting
To troubleshoot your mail relay loop, run the reporterrors.exe executable from the command line. The executable is located in your \MOVEitDMZ\Scheduler folder. This utility will either send a short message to the error email address configured in your MOVEit Transfer Config program or report a connection problem regarding the email server.
Problem: Cannot connect to local mail relay.
Solution 1: Open the Services from Start | Programs | Administrative Tools. Make sure the Simple Mail Transport Protocol service is started and that it is set up to start Automatically.
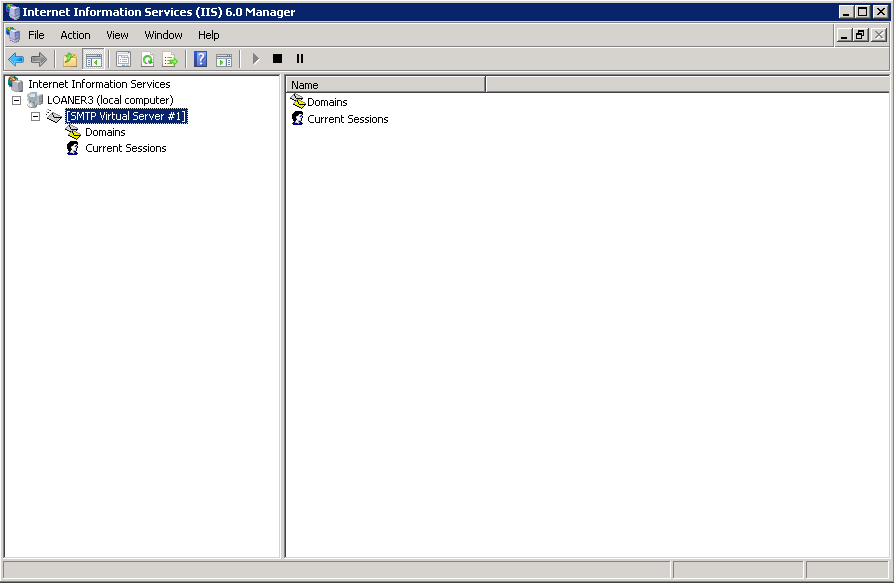
Solution 2: Open the Internet Services Manager from Start | Programs | Administrative Tools. Make sure the Default SMTP Virtual Server is NOT stopped.
Solution 3: Open the Internet Services Manager from Start | Programs | Administrative Tools. Right-click on Default SMTP Virtual Server and select Properties. In the General tab make sure the IP Address is set for All Unassigned.
Solution 4: Go to the command line and type netstat -a -n. Look for any TCP entries with a local address ENDING with :25. If there are none, the SMTP server failed to bind to its listening port; reboot the server.
If the reporterrors.exe utility reports that it is sending email OK, but the mail messages are not actually reaching their destination, open the local SMTP server queue folder and look for messages there which correspond with your test messages. (The queue folder is usually named something like c:\inetpub\mailroot\queue.)
Problem: Mail is being queued on the local SMTP server and is not being delivered.
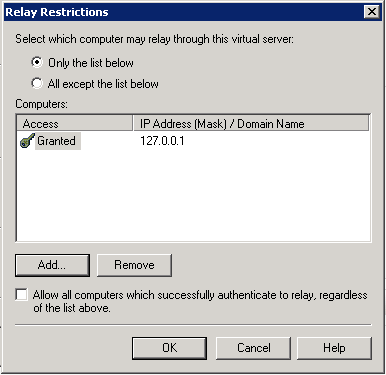
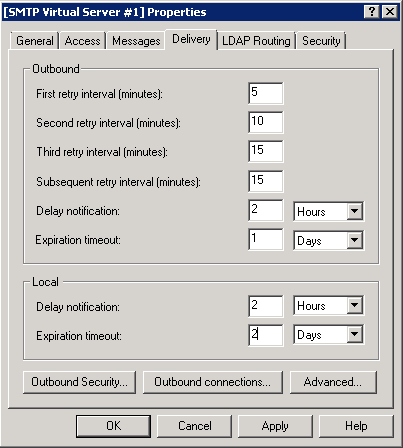
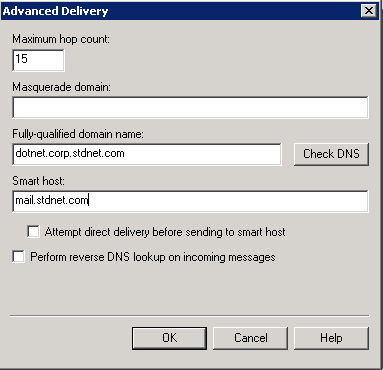
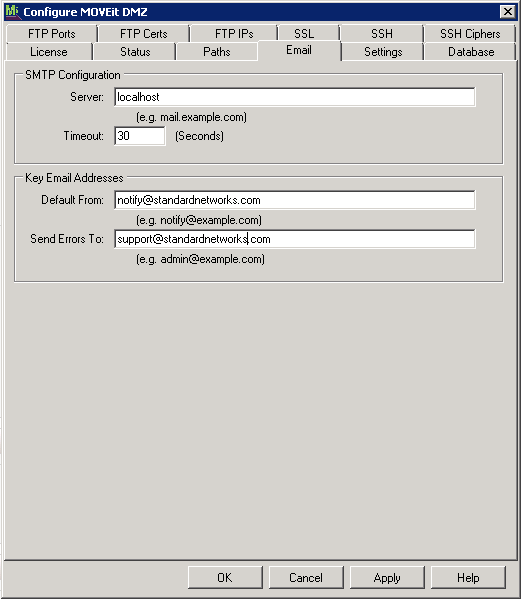
Solution 1: Make sure that your SMART HOST contains the value which used to be the MAIL SERVER field in your MOVEit Transfer configuration.
Solution 2: Make sure that the Attempt Direct Delivery box (near the Smart Host setting) is NOT CHECKED.
Solution 3: Look for entries in your SYSTEM event log from SMTP or SMTPSVC that indicate at DNS problem. If the entries contain events like these, change the SMART HOST (described above) to an IP address enclosed by square brackets. For example [66.170.5.142]
You can also use the MOVEit Transfer Check utility to test mail relay loops. You can test the email relay against an email address you type in while the program is running.