Configuring alerts for active monitors
In this example, you create and assign an SMS Direct action to a DNS active monitor. SMS Direct actions send user-configured text messages to cell phones or other texting capable devices through GSM modems.
You must have the following before attempting to configure an SMS Direct action:
- GSM modem to connect to the WhatsUp machine
- SIM card for the GSM modem
- Cell service/signal in the room in which the WhatsUp machine and GSM modem reside
To configure an SMS Direct alert for a DNS active monitor:
First, create the SMS Direct action.
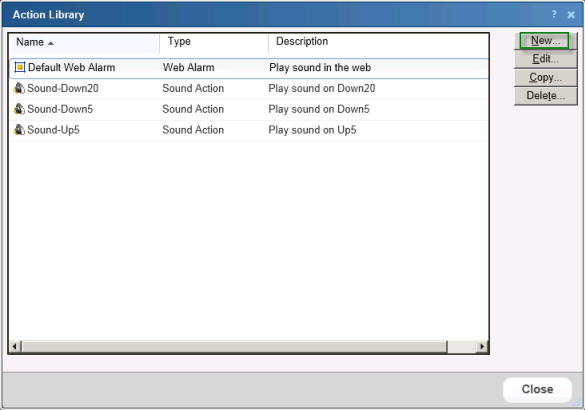
- From the WhatsUp Gold web interface, go to Admin > Actions. The Action Library appears.
- Click New. The Select Action Type dialog appears.
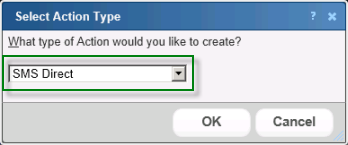
- Select SMS Direct, then click OK. The New SMS Direct Action dialog appears.
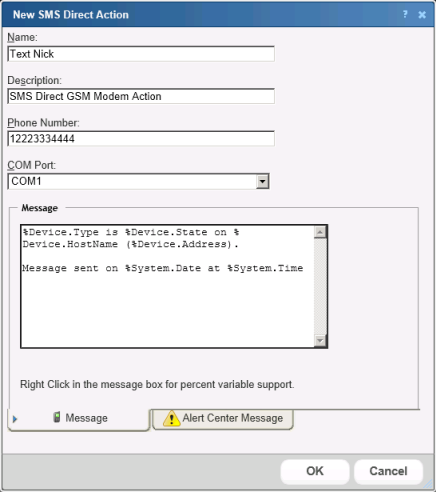
- Enter the appropriate information in the dialog boxes:
- Name. Enter a unique name for the action. This name displays in the Action Library.
- Description. (Optional) Enter additional information about the action. This description displays next to the action in the Action Library.
- Phone number. Enter the cell phone number(s) of the intended SMS message recipients.
Note: All non-numeric characters such as "-" and ".", are ignored.
Note: There is a 2,000 character limit in this box.
- COM Port. Select the COM port you want to use with this notification.
Note: The list displays all ports associated with the GSM modem, including virtual and hard-wired, serial ports. You must select the port that is assigned to the modem in the Windows Device Manager.
- Message. Enter a text message, plus any desired percent variable codes. Using percent variables greatly increases character count.
Note: If the message exceeds 140 characters, the message may be broken into up to three parts and is sent as separate messages ("1 of 3", "1 of 2", etc.), each message containing up to 140 characters, for a total of up to 420 characters. Spaces are included in the character count.
After configuring the action, assign it to the appropriate device. In this example, Nick assigns it to his web server device.
- In the Details or Map View, right-click the appropriate device, then click Properties. The Device Properties dialog appears.
- Click Active Monitors. The Device Properties - Active Monitors dialog appears.
- Select the DNS active monitor, then click Edit. The Set Polling Properties dialog appears.
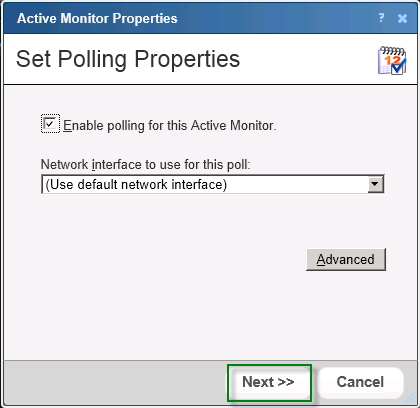
- Make any adjustments to polling selections, then click Next. The Setup Actions for Monitor State Change dialog appears.
The Apply individual actions option is selected by default; keep this selection.
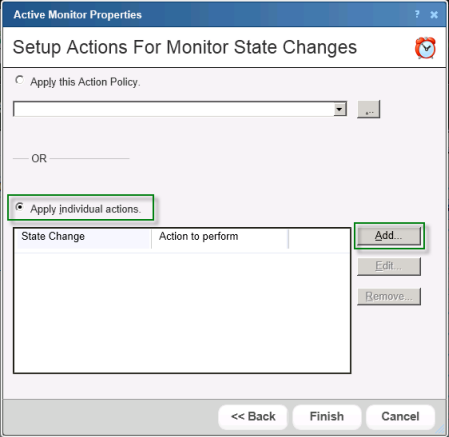
- Click Add. The Action Builder appears.
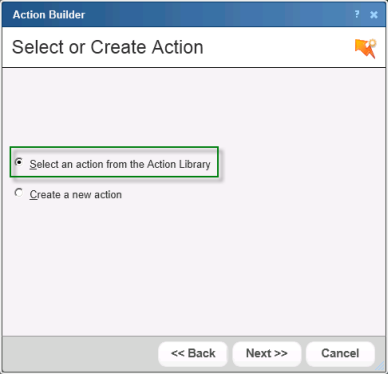
- Select the Select an action from the Action Library option, then click Next.
The Select Action and State dialog appears.
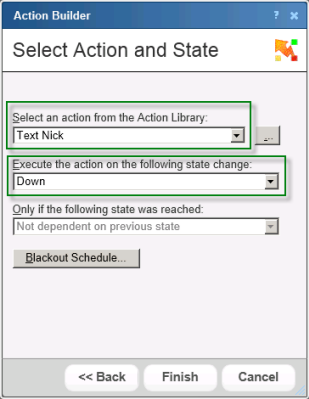
- Select the SMS Direct action from the list, select Down as the state change, then click Finish. The Setup Actions for Monitor State Changes dialog appears.
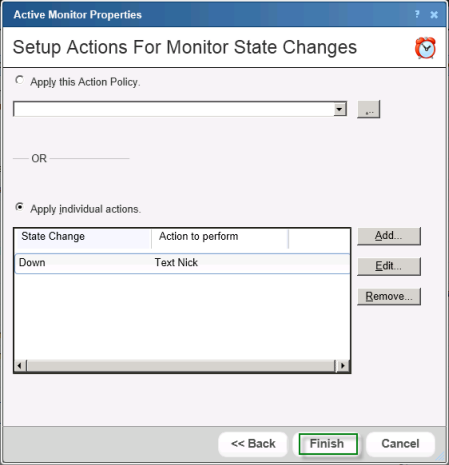
- Click Finish. The Device Properties dialog appears.
- On the Device Properties dialog, click OK to save changes.