Using Scheduled Reports: printing, exporting, and emailing reports
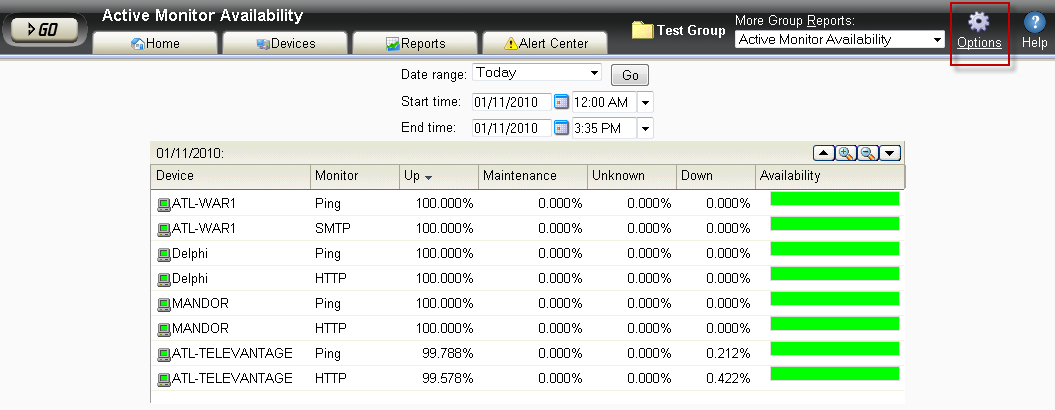
All full reports can be printed and exported to a formatted text file, Microsoft Excel, or a PDF. You can also email reports as a PDF, or send on scheduled intervals. Workspace reports can now also be exported as PDF reports and emailed as scheduled reports. Click the Options ![]() icon, available at the top of each report and workspace report, to manage these features.
icon, available at the top of each report and workspace report, to manage these features.
Important: Make sure that client side JavaScript is enabled in the browser options to use the print and export features.
Important: If the Secure Socket Layer (SSL) web server is enabled (WhatsUp Gold console - Configure > Program Options > Web Server), make sure that you use a valid SSL certificate in order for the PDF export feature to export files to a PDF format. To acquire a valid SSL certificate, refer to an SSL certificate provider such as VeriSign. For more information, see About the default SSL certificates.
Tip: In some cases, exported reports show more detailed data than that of the data displayed in the report in the web interface. For example, an exported Excel report may contain more data columns, or a floating data point with higher precision.
To print a report:
While viewing the report you want to print:
- Right-click anywhere inside the report window, then select Print.
- OR -
From the WhatsUp Gold web interface, click File > Print.
To export a report to a text file (full reports only):
While viewing the full report you want to export:
- From the WhatsUp Gold web interface, on the Report Toolbar, click the Options
 icon. The Report Options list appears.
 - Select Export to Text.
- Clear or select the following options: Include report title, Include column names to either include or remove the report title or column names from the exported file.
- Select a Column delimiter from the list.
- Select a Text qualifier from the list.
- Click OK to export the report to text.
To export a report to Microsoft Excel (full reports only):
While viewing the full report you want to export:
- From the WhatsUp Gold web interface, on the Report Toolbar, click the Options icon. The Report Options list appears.
- Select Export to Excel.
- Clear or select the following options: Include report title, Include column names to either include or remove the report title or column names from the exported file.
- Select a Column delimiter from the list.
- Select a Text qualifier from the list.
- Click OK to export the report to Excel.
To export a report to a PDF:
While viewing the full report you want to export:
- From the WhatsUp Gold web interface, on the Report Toolbar, click the Options icon. The Report Options list appears.
- Select Export to PDF. The Export to PDF dialog appears.
- Select the following options:
- Page size. Select from the list of page size options.
- Auto size. Enable this option to, generally, make the best automatic adjustment to fit all page content on the PDF.
- Page orientation. Select Portrait or Landscape PDF.
- Select the Live links option if you want to include clickable url links in the PDF report.
- Click Export to export the report to a PDF.
To email a report as a PDF:
While viewing the full report you want to export:
- From the WhatsUp Gold web interface, on the Report Toolbar, click the Options icon. The Report Options list appears.
- Select Email PDF.
- Enter the following information for the email: To, Subject, URL, select the PDF Options. Refer to the dialog help for more information.
- Click Send Email to send a PDF email immediately or click OK to complete the scheduled email settings.
To send a full report as a scheduled report:
While viewing the full report you want to export:
- From the WhatsUp Gold web interface, on the Report Toolbar, click the Options icon. The Report Options list appears.
- Select Recurring Reports.
- Enter the following information for the email: To, Subject, URL, select the PDF Options. Refer to the dialog help for more information.
- Click Test Email to send a PDF test email immediately or click OK to complete the scheduled email settings.