Example: configuring Active Discovery
In this example, we set up an Active Discovery task to scan our Atlanta network every morning and send an email update to the network administrator.
To configure an Active Discovery task:
- From the WhatsUp Gold console, select Configure > Active Discovery. The Active Discovery dialog appears.
- Click New to add a new Task.
We completed the Add Active Discovery Task wizard example as follows:
Wizard screen
Settings
General
Task Name: Atlanta Network Sweep
Description: Daily scan of Atl net
Scan for new services on existing devices (selected)
Schedule
Enable Schedule (selected)
Schedule Time: 8:00 AM
Days: All days selected
Notification
Enable Email Notification (selected)
Email address: netadmin@ipswitch.com
Outgoing mail (SMTP) server: 192.2.200.10
Port: 25
From: whatsup@ipswitch.com
Scan Type
SNMP SmartScan (selected)
SNMP SmartScan Settings
SNMP enabled router: 192.168.2.1
SNMP read communities: public
Windows credentials: none
Active/Performance Monitors
Select Active Monitors to be used in the scan process: FTP, HTTP SMTP, Ping
Select Performance Monitors to be used in the scan process: CPU Utilization, Disk Utilization, Interface Utilization
Important: If you want to scan the devices currently in your databases for new services, make sure you select the Scan for new services on existing devices option. Clear the option to keep your existing devices from being scanned.
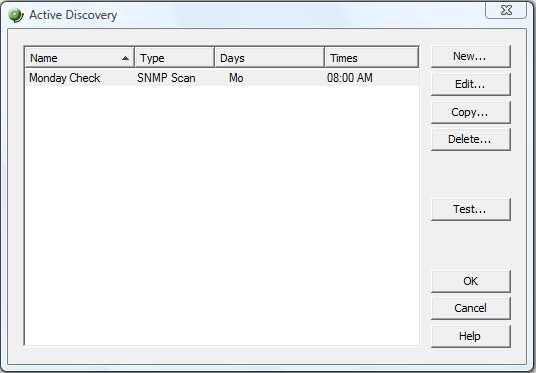
- Click OK to complete the wizard. The new task is displayed in the Active Discovery dialog.
- From the email, click the Active Discovery Results link to view the report.
- Select the Discovery results (devices, services, or monitors found) you want to add to your device group, then click Add.