Creating a Web Alarm Action
To create a Web Alarm Action:
- Go to the Action Library:
- From the web interface, click GO. The GO menu appears.
- If the WhatsUp section is not visible, click WhatsUp. The WhatsUp section of the GO menu appears.
- Select Configure > Action Library. The Action Library appears.
- or -
- From the main menu bar of the console, select Configure > Action Library. The Action Library appears.
- In the Action Library, do one of the following:
- Click New, then select Web Alarms Action.
- or -
Select an existing Web Alarms Action, then click Edit. The Action Properties page appears.
- Click New, then select Web Alarms Action.
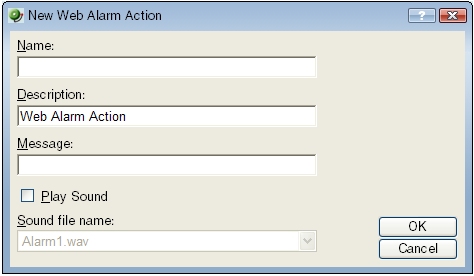
- Set the appropriate options.
- Name. The name identifies the Web Alarm action in the Action Library list.
- Description. A short description of the action. The description appears in the Action Library list.
- Message. Enter a short message to send to the visual cue part of the Web Alarm in the web interface.
- Play Sound. Select this option to play the sound file whenever a web alarm action is fired. Clear this option to only have the visual cue appear in the Web Interface.
- Sound file name. Select a sound file that has been installed in your
\Program Files\Ipswitch\WhatsUp\HTML\1033\NMconsole\WebSoundsdirectory. Custom sounds added to this directory appear in the drop-down list.Note: For Web Alarms to work properly, your browser must support embedded sound files.
- Click OK to save this action. The action now appears in the Action Library.
- Assign the action to a device or a monitor. For more information, see Assigning an action to a device or Assigning an action to a monitor.