![]()
![]()
![]()
![]()
|
|
|
|
|
Tip: Before creating a schedule, you might want to visit the USERS module to check user group membership. You cannot access group membership information from the schedule creation page.
– or –
The Create Schedule dialog box opens.
Click the calendar icon to select a date. Enter a start time in the hour and minute boxes.
To clear the date, click the calendar icon and then click Clear.
Important: All times are in GMT. For example, if you are in the Eastern Standard Time zone and it is 2:00 pm and you want to schedule a report to run immediately, for Start time you must enter 19:00 (2:00 pm + 5 hours offset from GMT = 7:00 pm, which is 19:00).
Note: Do not select a Start time that is in the past. The schedule will not run.
Note: To repeat this schedule on a recurring basis (next step), do not select the 31st of the month as a Start date.
When selecting a Repeat mode, you must specify when the schedule Ends:
Note: If you save the schedule now, the schedule will deliver report(s) to the Library only. Only you, Administrators and System Administrators will have access to view the Library report.
The Scheduled Report Preferences dialog box opens. Specify the following information:
Note: You must select at least one Report Type. You can select multiple Report Types for the same schedule.
Click Save.
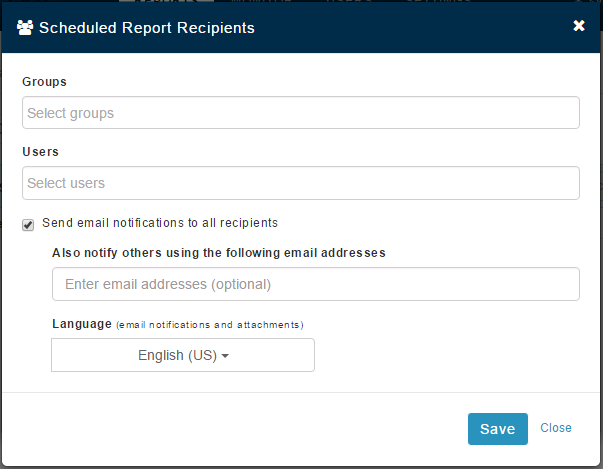
Important: If you do not select any recipients, the report is delivered to the Library only, where it is accessible only to Administrators and System Administrators. Recipients receive the report via email only if you select Send notifications to all recipients.
There are two types of Recipients:
The following email notification shows a recipient who has received PDF and CSV report attachments, as well as a link to the report in the Library:
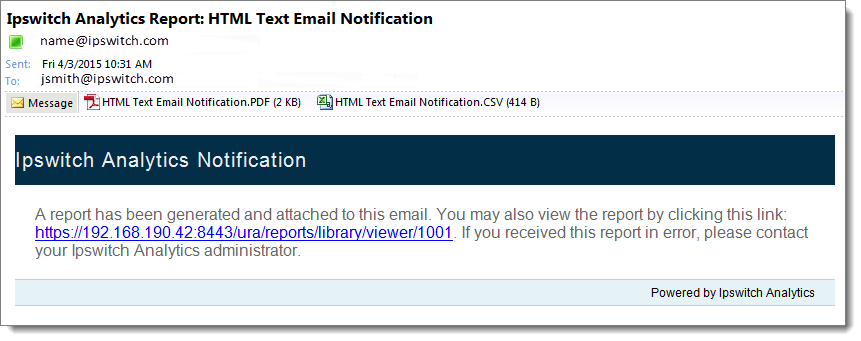
The link opens the Library, where the recipient can locate the report name in the title of the email. For any recipient, the Library lists only those reports for which the recipient has permission.
Administrators and System Administrators only: Optionally select a Ruleset to control what MOVEit sources will contribute data to the scheduled report.
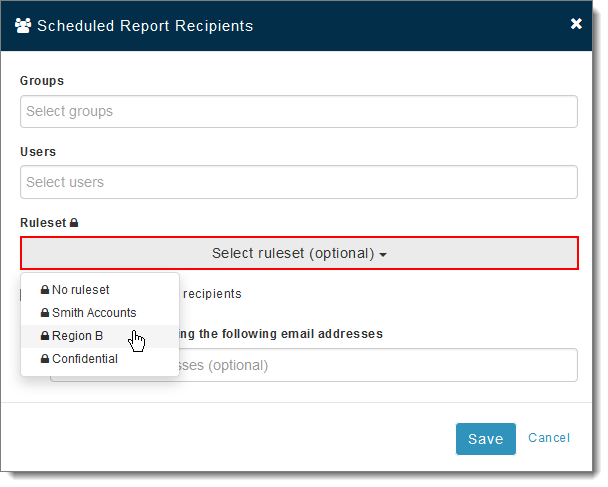
Note: You must first create a ruleset before the Ruleset option will display here.
Important: If a schedule's underlying template contains filter settings AND you assign a ruleset to the schedule, the report will include only the MOVEit data sources allowed by both. For example, if the template's filter allows data only from servers A and B and the schedule ruleset alllows data only from servers B and C, the final report will not include data from server B.
Click Save when you are finished with Recipients.
The schedule appears in the Schedule list showing Status > Scheduled.