Start with a server that does not have an SSL certificate or remove the current SSL certificate.
HINT: To request a production certificate while still using the 90-day test certificate the MOVEit DMZ installation program installed in your "moveitdmz" IIS site , request the certificate from the "default" IIS site instead.
Click Start -> Programs -> Administrative Tools -> Internet Information Services Manager (IIS Manager). Select the web site you wish to work with and Right-Click then select Properties. Click on the Directory Security tab then click Server Certificate.... This will start the Web Server Certificate Wizard.
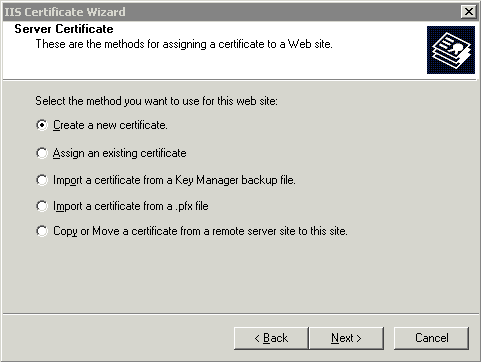
Select Create a new certificate and click Next.
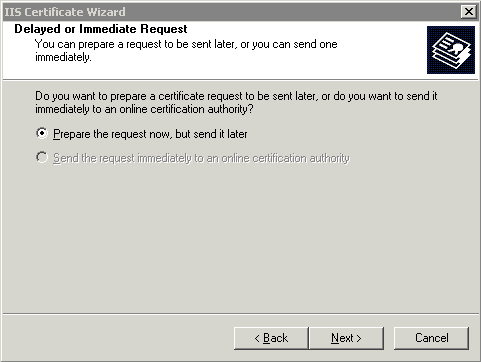
Select Prepare the request now, but send later and click Next.
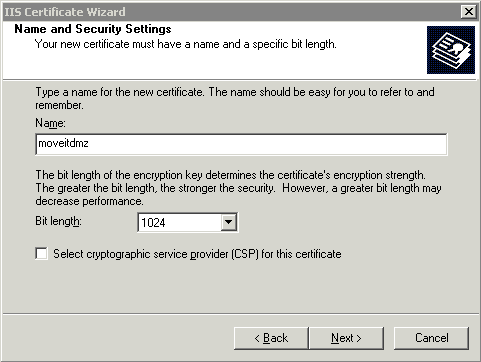
Select the name and security strength (1024 bit at least) and click Next.
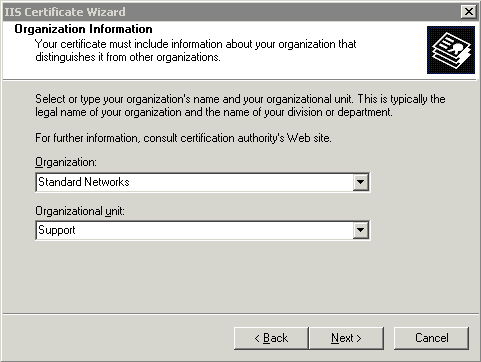
Type your Organization Information and click Next.
Type the Common Name that will be used for this certificate and click Next. This is the Fully Qualified Domain Name (FQDN) for your MOVEit DMZ site, for example moveitdmz.com. Make sure to have the name approved with the DNS administrator before sending the CSR to the Certificate Authority.

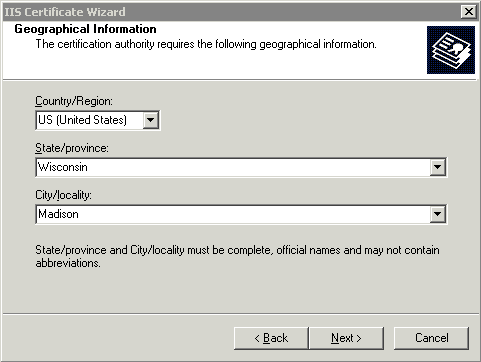
Type the Geographical Information that will be used for this certificate and click Next
Select the filename to be used for the certificate request and click Next.

Verify the certificate from the Summary information and click Next.
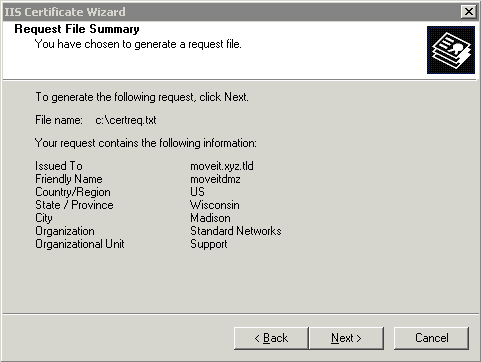
Click Finish to finalize your CSR. You will now need to send the CSR to a Certificate Authority of your choice.
When you have received the certificate (typically several days later), then proceed to the next step.
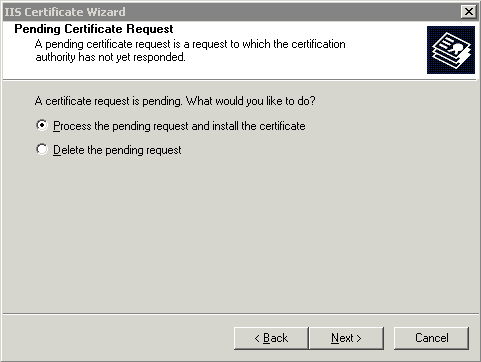
Start with a server that has a pending request. Click Start -> Programs -> Administrative Tools -> Internet Information Services Manager (IIS Manager). Select the web site you wish to work with and Right-Click then select Properties. Click on the Directory Security tab then click Server Certificate.... This will start the Web Server Certificate Wizard.
Select Process the pending request and install certificate and click Next.
Select the path and filename of the response that was sent from the Certificate Authority.
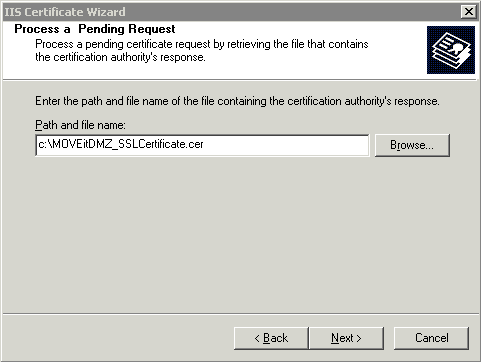
Choose to install the certificate using Port 443 and then click Finish.
HINT: If you performed this procedure on your "default" IIS site to because you were still using the MOVEit DMZ 90-day test certificate, you should now move your new cert over to your "moveitdmz" IIS site. First, go to the "Directory Security" tab on the "default" IIS site, click "Server Certificate..." and select the "Remove" action. Next, open the "moveitdmz" IIS site's properties, go to the "Directory Security" tab, click "Server Certificate..." and select the "Replace" (or "Assign") action. Finally, select the certificate you requested and installed from the "default" IIS site.
The certificate now needs to be assigned to the MOVEit DMZ FTP Server.