Whereas the Items Displayed settings allow you to turn on and off specific components of a notification, they do not let you control the actual text. The Custom Notifications feature allows you override the standard template with a customized version for all users within an organization, or for just a specific group.
#146 (click image for info)
By clicking on the Settings | Appearance | Notification: Custom link, you get to a master list of custom notifications you have defined for your organization. From here you can create new notifications, clone notifications you have already created, edit the content of notifications, and enable or disable notifications for use within your organization.
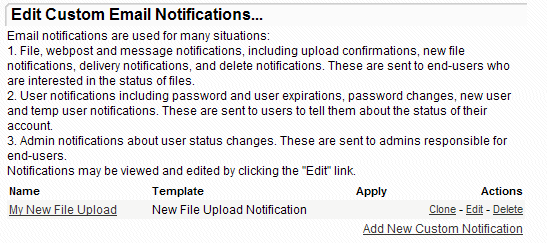
The main list of notifications has several columns:
An "add" link allows you to create new notifications based on standard templates.
To add a new custom notification, click on the "add" link at the bottom of the custom notification list.
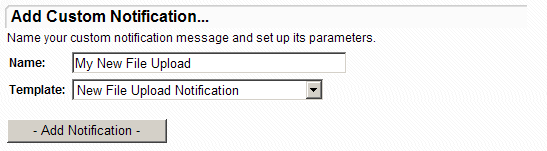
Press the "Add Notification" button to advance to the editing screen.
When you add a new notification, a standard "template" notification is built and presented for editing. At the time you add the notification, the "Items Displayed" settings currently in effect will be used to select the features enabled in the custom notification. For example, if the Comment Field option is set in the "Items Displayed" settings when you add a file or message notification, the new notification will include the comment.
Once you have a working custom notification, you may want to create a slightly different version without starting from scratch, and without changing the original. You can select an existing custom notification from the list and click on the "Clone" link.
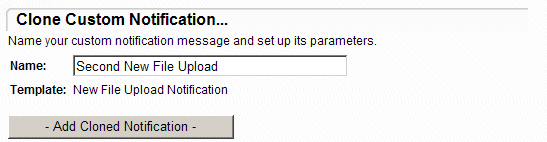
This is very similar to "Adding a Notification", but notice that the template is fixed, you only get a field for specifying the name of the new notification. After you press the "Add Cloned Notification" button, you are presented with the edit screen containing a copy of the original notification.
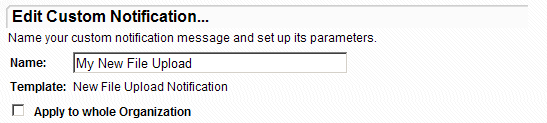
Immediately after adding or cloning a new notification, or if you click on the "Edit" link in the notification list, you get the editing display. The screen is broken up here and each part is described separately.
![]()
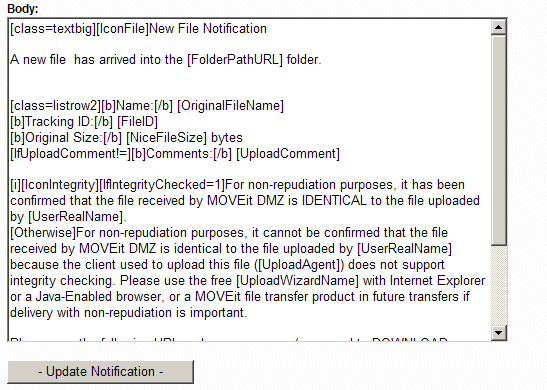
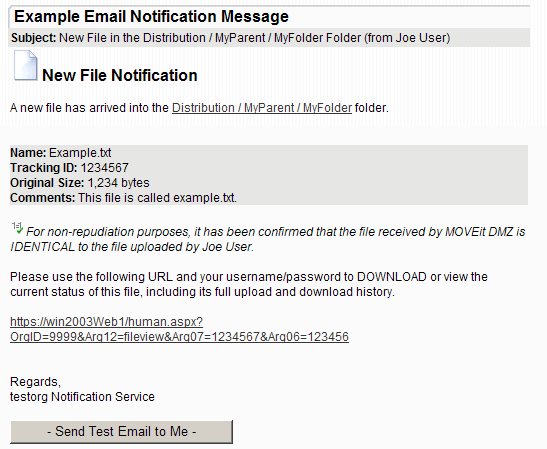
A example of the last-saved version of your custom notification is displayed as it would appear when sent as an email in HTML format. The subject is displayed separately from the body of the email. Generic sample data is filled into the message to show how the macro fields would be processed. A "Send Test Email to Me" button lets you send an actual email to yourself with the sample data. The email subject of the test email will always be prefixed with the words "TEST EMAIL:". Every time you make a change to the subject or body of the custom notification and press the "Update Notification" button, the display will refresh to show you the results of your changes.
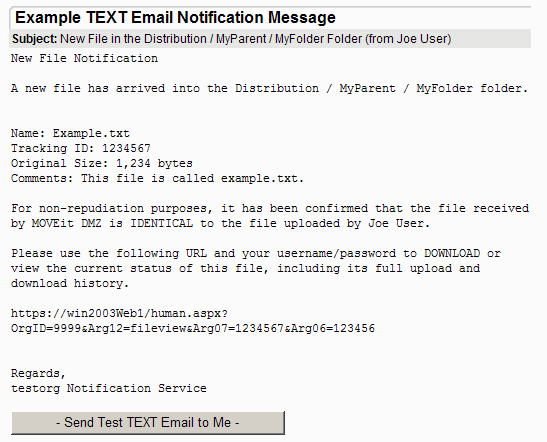
An example of the same notification as it would appear sent as an email in TEXT format is also displayed. For the Summary File Notifications, which have completely different HTML and TEXT versions, only one or the other is displayed. A similar "Send Test TEXT Email to Me" button can be used to send a sample in text mode to your email address.