![]()
![]()
![]()
![]()
|
|
|
|
|
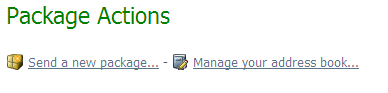
Sending a new package is like sending an email with attachments. As such, it is a familiar process, and uses a form similar to a compose email form. The "Package Actions" section may appear on the home page and/or the main packages page.
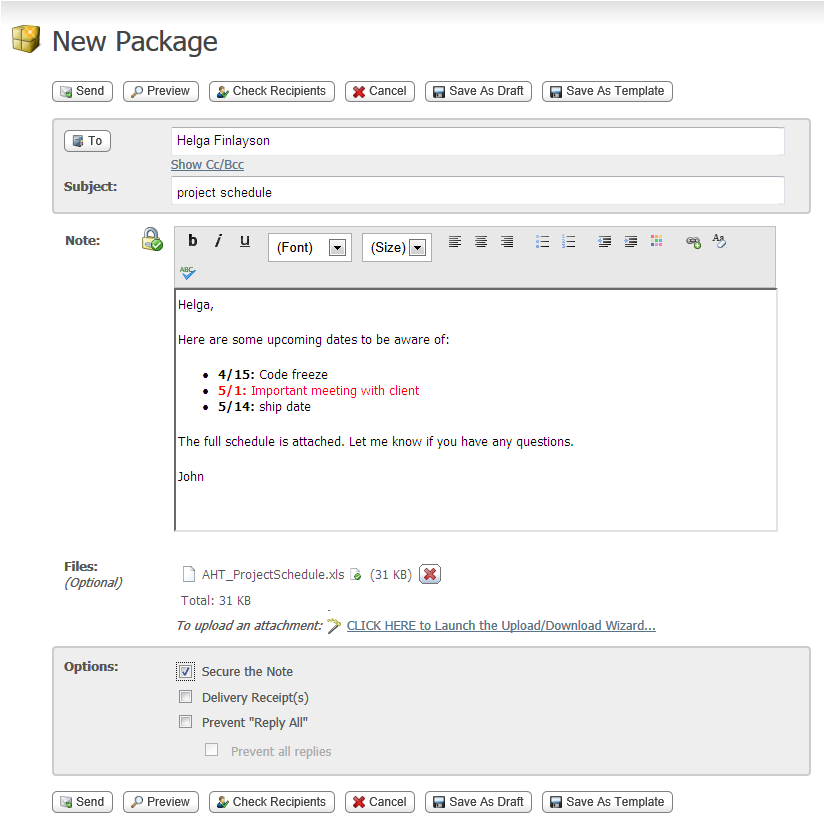
Add recipients in the To field by entering a valid email address. Separate multiple entries with a comma. If your Administrator has configured it, you may also see the Address Book options for adding recipients. You can enter yourself as a recipient.
In the Subject field, enter a description of the package (the subject will usually be included in the 'new package notification' email).
Use the Note field to enter a note for recipients. (The note may be optional depending on the organizational settings.)
The Note field is blank. Enter a note for the recipients. (The note may be optional depending on the organizational settings.)
Whether the note is required or optional might be labeled to the left.
In addition, the padlock icon to the left of the Note box is shown either open or locked depending upon the Secure the Note default set by the administrator. (You might have a per package override checkbox in Options below.)
Depending on the Organization settings, you may see a rich text editor where you can type your note. In this editor, buttons above the editing box let you change the font, size, style, alignment, indentation, and even color of the text you enter. You can also enter links and lists.
You may also have a Check Spelling button available, which will check the spelling of both the package subject and the note. Misspelled words will be highlighted and you may use your left mouse button to select appropriate replacements.
A 'new package notification' email will be sent to your recipients, to inform them that a package is waiting for them. Recipients can click on the web link in this notification to connect to the site and view the package.
Note: Depending on the Organization settings, you may need to set a password that unregistered recipients (recipients that are not MOVEit users) will use to access the package. You may also need to send the password manually to these recipients. (If you are a registered user, this MOVEit help contains another topic with more detail about the password options. See Web Interface - Packages - Sending.)