![]()
![]()
![]()
![]()
|
|
|
|
|
Admins should upload a custom logo (often the same one used on their main web site) soon after signing on for the first time. All users will be able to see this image. The logo is usually set to appear on the top left-side of the page. Admins can also set a custom logo, or tag line image, to display at the top right-side of the page. A header background image can be set to enhance the display of the logo.
Images can be in .gif, .jpg, or .png format.
For example, the default style shows a left-side logo with a right-side tag line and includes a header background image.
Note: The logo file that you upload here is not used for mobile. To upload a corresponding logo for use in the mobile app and web, use the Mobile link from Web Interface - Settings - Appearance - Brand.
If the width of logo is more than 600 pixels, the width of the page will stretch to match the new logo. (600 pixels will fill a browser on a screen with a resolution of 640x480.) A width of 660 pixels is recommended to fit the current page on a standard printed page. A width of 720 pixels is recommended to fill up a floating browser on a screen with a resolution of 800x600. A width of 760 pixels is recommended to fill up a full-screen browser on a screen with a resolution of 800x600.
Note: After changing the logo image, the new image might not display due to browser caching. Hold down the Control key and click your browser's Refresh button to reload the page without cached images.
Administrators can also set the page layout width and alignment. Select an option and click Save to see how the change affects the layout. Note that alignment applies only if you select less than 100% width.
Bullets are turned off by default, but you may opt to have a custom bullet appear next to the green sub-titles on each page.
To turn on bullets:
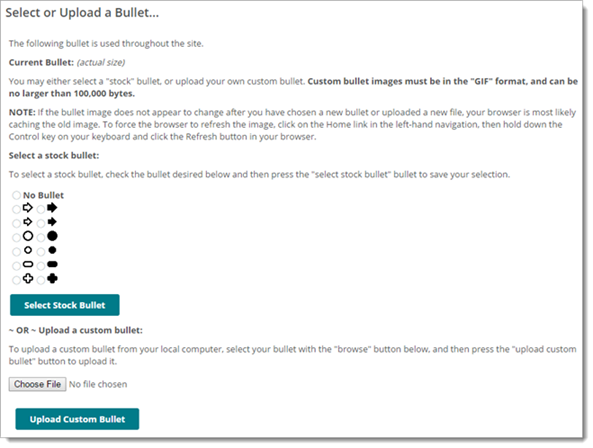
Note: Images are limited to 256 colors, however, they can be transparent and/or animated. Custom bullet images should be no more than 16 pixels by 16 pixels.
![]()
![]()
Important: Remember to remove the comma after .pageheadingimage.
To remove the bullets, change the same line of code back to its original state below, and then refresh your browser window.
![]()
Admins may preview or pick from one of the available color schemes. If a custom scheme is desired, SysAdmins have the ability to create and upload a (CSS) stylesheet template to fit your brand.

Admins may also change the name and the look of the MOVEit Wizard. The names entered in the top section of this page will appear in the title bar of the Upload and Download Wizards respectively. They will also be recorded as the Agent Name in audit log entries of Wizard file transfers. Set the values to blank strings if you'd like to use the default names. The bitmap image entered in the bottom section will be shown in place of the usual Wizard logo in the upper left corner of the Wizard. To set this back to the default logo, click the Upload Custom Wizard Logo button without selecting a file.
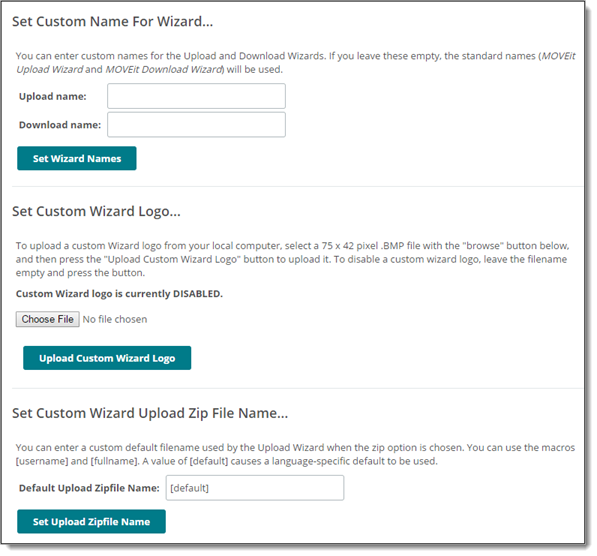
You can also set a file name to be used by the Upload Wizard when the zip files option is selected (ActiveX Wizard, for example). This option compresses files into one file with a .zip extension and will use the file name you enter here. You can enter a custom default filename that will be used by the Upload Wizard when the zip option is chosen. You can use the macros [username] and [fullname]. A value of [default] causes a language-specific default to be used (the default English version is upload.zip.) If you want to prompt the user to enter a zip file name, leave the Default Upload Zipfile Name field blank.
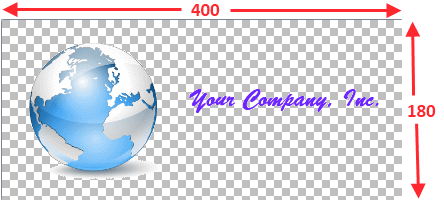
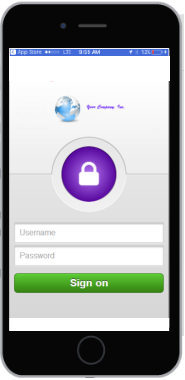
Administrators can upload a custom logo that will appear in the Sign on page for all mobile users. The logo will be displayed as shown in the Mockup diagram of the configuration page. (A user needs to sign on and off one time before the custom logo will be displayed.)
The image you upload should be a *.png file, 400 x 180 pixels, preferably with a transparent background. The logo will be automatically scaled down into medium (80%) and small (40%) formats for use in mobile as needed.
Example custom logo:
A success message says Changed organization mobile logo OK.
Note: After changing the logo image, the new image might not display due to browser caching. Hold down the Control key and click your browser's Refresh button to reload the page without cached images.
This value is the URL to which users will be sent if they click on your organization's logo. By default, the External URL is blank. When the External URL is blank, a click on your organization's logo will act like a click on the Home navigation link.
This value is NOT the URL to which users are sent in their notifications; that value is called the Base URL and may only be set by a SysAdmin. A system-wide Base URL normally applies equally to all organizations, but individual values may be set on each organization. (If your MOVEit Transfer system supports multiple, licensed organizations and each one uses its own IIS site and SSL server certificate, you should be using different Base URL values for each organization.)