Adding components to an application instance
To add a component to an application profile, see Adding components to an application profile.
To add a component to an application instance:
- Create an application instance from a preconfigured application profile.
- In the Components section, click Add components.

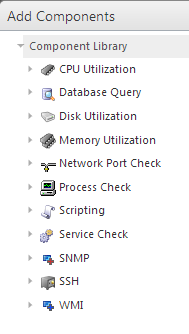
The Component Library appears.

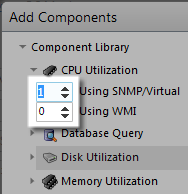
- Click the arrow next to a component category to expand, then specify the number of components you want to add by entering a number into the box or by clicking the up and down arrows next to the component.

Note: You can add up to 10 components at a time to an application instance. If you need more than 10 components, click Add components again to add more components.
- Click Add Selected. The selected components are added to the application profile.
- For each component, enter or select the following information:

- Enabled. Select this option to enable or disable the component.
- Action Policy. Select an action policy from the list for the component.
- Device Override. (Optional) Override the device associated with the instance and designate a specific device to assign to the component.
- Click browse (...) next to the Device Override box to launch the Select a Device dialog.
Important: If the device you want to use is configured with a WhatsUp Gold down dependency, make sure that you use a cloned device for this device selection in the APM plug-in. For more information, see the Dependencies overview.
- Select a device from the navigation tree on which to test the individual component and click OK.
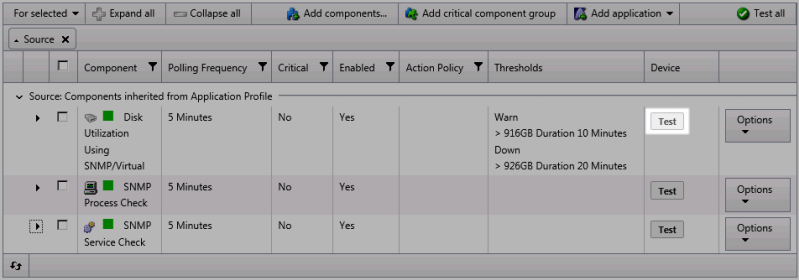
- Click Test to test the component on the selected device.
- Note: Click
 to remove the device override and revert to the device associated with the application instance.
 - (Optional) Click Test to test the component.
- Click browse (...) next to the Device Override box to launch the Select a Device dialog.

- Click Save to save your changes or click Save and Close to complete your changes.