You can control access to a host by setting an IP address or range of addresses for which the host either grants or denies access.
We strongly recommend that the IP Lockouts feature be used instead of Access Control because IP Lockouts work at the server-level, blocking access when an offending IP address tries to establish a connection. As a result, the IP Lockouts feature is more efficient and secure, as it identifies an attack when the attack begins and it puts host resources out of reach.
When an IP address is added to Access Control and IP Lockouts is enabled, the IP address does not get added to the Blacklist. The Access Control setting will be used, so the IP address will be able to connect to the server, but then will be blocked at the host-level.
To control access to a specific computer or group of computers by IP address:
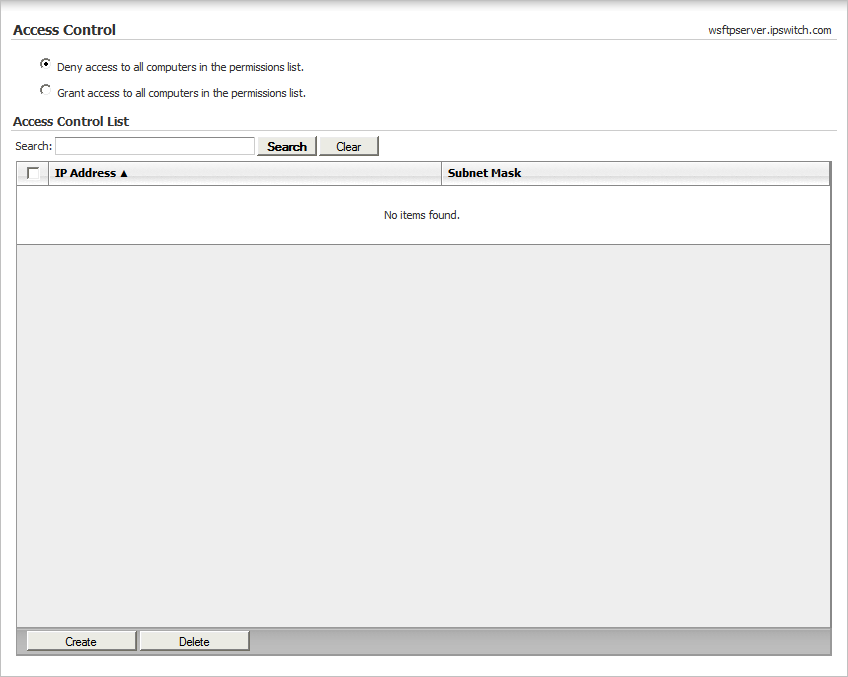
From the top menu, select Host > Host Settings > Access Control. The Access Control page opens.
Select whether you want to grant or deny access to, by default, all computers in the list.
Click Create to add another computer or group of computers to the IP Address list. The Create Access Control List Entry page opens.
Enter the appropriate information for each of the fields.
Define access controls for. Select the type of access control entry.
A single computer or IP address. Select this option to grant or deny access to a single computer or IP address. If this option is selected, the Net mask field is disabled.
A group of computers. Select this option to grant or deny access to a group of computers or IP addresses.
IP address. Enter the IP address of the computer to be added to the list.
Net mask. If you are defining access for a group of computers, enter the subnet mask for the group. For example, if you have a class C address space of 156.21.50.0, enter a IP address of 156.21.50.0 and a net mask of 255.255.255.0. This will grant or deny access to the 254 systems with the IP address of 156.21.50.1 through 156.21.50.255.
Click Save. The Access Control page opens again with the new entry listed in the IP Address list.