![]()
![]()
![]()
![]()
|
|
|
|
|
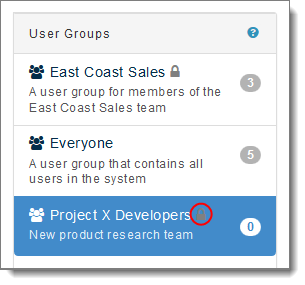
A ruleset blocks Creators from viewing and working with specific MOVEit servers, organizations and users in the Templates and Schedule tabs.
Note: Rulesets that appear in the drop-down list were previously created. For more information, see Rulesets.
If you assigned a ruleset, a lock icon appears next to the user group name. To see which ruleset is assigned to that user group, hover your mouse over the lock icon.
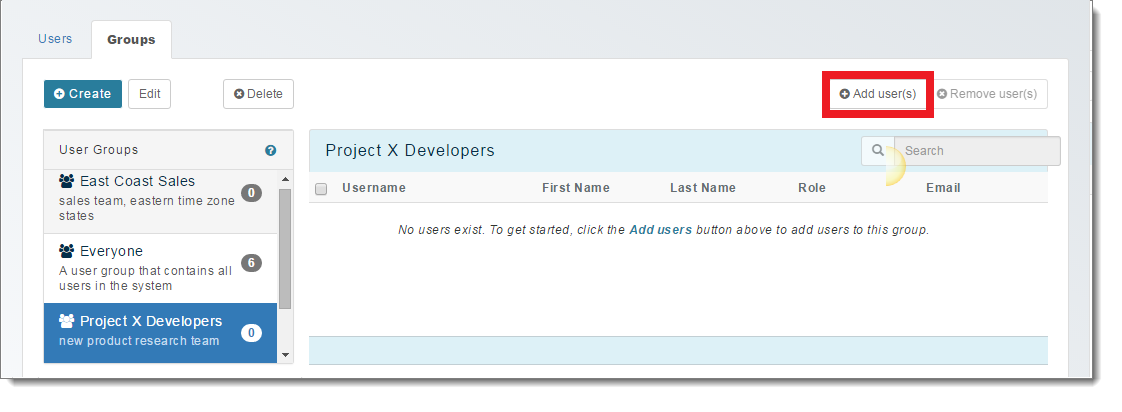
Note: Only users who are not already members of the group appear in the list.
A user group can contain 0 or more users.
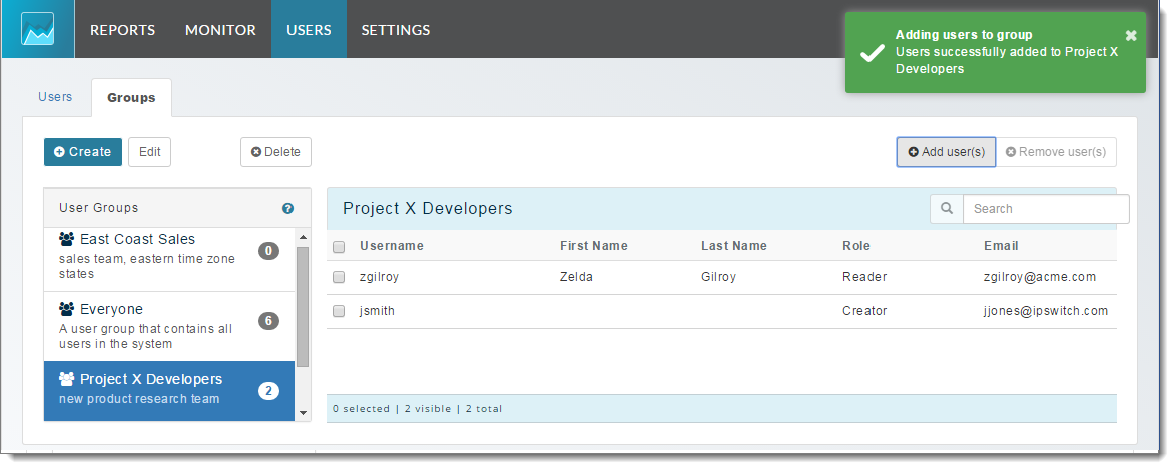
The user is added to the username list on the right. You can now select this user group as a schedule recipient, and grant Library report access to this user group.
Note: You can also select a user group and click Delete to remove that group, or click Edit to add or remove members from the group.