Managing Action Policies
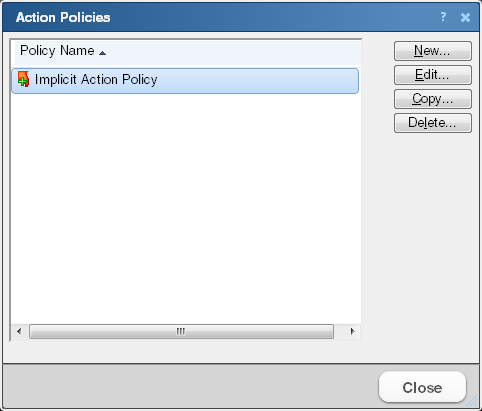
The Action Policy dialog shows the action policies that you can assign to any device or monitor. Use this dialog to create a new action policy, modify or copy an existing policy, or delete a policy.
For more information, see Using Action Policies.
To create an action policy:
- From the WhatsUp Gold web interface, go to Admin > Action Policies. The Action Policies dialog appears.
- Click New and enter a name for the new policy in the Policy name box. Give the policy a descriptive name that helps you remember its function.
- Click Add. The Action Builder wizard appears.
- Follow the directions in the wizard.
- Click Finish at the end of the wizard to add the action to the policy.
- Add as many actions as you need to complete the policy. You can move actions up and down in the list by clicking Up and Down above the action list.
Note: If you select Only execute first action, WhatsUp Gold executes the actions in the list for each state, starting at the top, and stops as soon as an action successfully fires.
- After you have added all of the actions you want to use for the policy, click OK to create the policy and add it to the active list.
Note: During Device Discovery, you can assign an existing action policy (if one has been created previously), create a simple action policy through a wizard, or access the Action Policy Editor to create an action policy yourself.