Creating global WMI performance monitors
To create a WMI performance monitor for system-wide use:
- Click the Admin tab, then click Monitor Library. The Monitor Library dialog appears.
- Click the Performance tab inside the dialog.
- Click New. The Select Performance Monitor Type dialog appears.
- Select WMI Performance Monitor, then click OK. The Add WMI Performance Monitor dialog appears.
- Enter a Name and short Description for the monitor. This information appears in the Performance Monitor Library and helps you identify the monitor.
- Click the browse (...) button next to Instance to connect to the WMI Performance Counter tree.
- Enter the computer name, or use the browse (...) button to locate the computer you want to monitor. In the following window, enter the coinciding Windows Credentials for the computer to which you are attempting to connect, then click OK. The Performance Counters dialog appears.
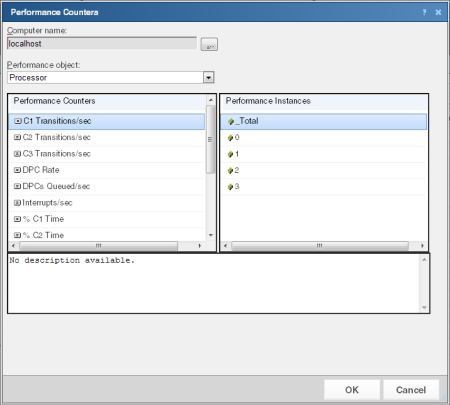
- Use the Performance Object list to select an object to monitor in the left pane.
- Use the navigation tree in the left pane to select the counter you want to monitor.
- In the right pane, select the specific instance of the selected counter you want to monitor.
Tip: The bottom of the dialog displays any available information about the counter/instance pair.
- Click OK to add the appropriate values to the Performance counter and Instance fields on the Add WMI Performance Monitor dialog.
- Verify the configuration of the monitor, then click OK to add the monitor to the Performance Monitor Library.
- After the monitor has been added to the library, you can enable the monitor through Device Properties > Performance Monitors. For more information, see Enabling global performance monitors.