There may be times when you uploaded the wrong message, the message is obsolete, or you sent a message to the wrong mailbox and you wish to cancel the uploaded message.
Note: On most systems, your uploaded messages will be processed almost immediately and you will not have an opportunity to cancel them.
You can cancel uploaded messages only when:
Tip: You can also cancel an upload before it completes transfer.
Search for the message if you cannot find it.

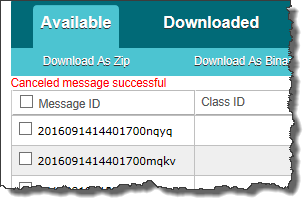
You see Canceled message successful at the top of the screen. The uploaded message's status will change to canceled and will move to the mailbox's Canceled tab.

Note: If you inadvertently checked an uploaded message that could not be canceled, a failure message displays at the top of the screen instead, along with the message ID.
|