![]()
![]()
![]()
![]()
|
|
|
|
|
The Folders page displays a table that shows all of the contents of a single folder. The initial folder that you view depends on your organization's setup. You can also display other folders to which you have access. Your home folder will usually have your username as its title, and will be located in the organization's top-level Home folder.
The example below shows the contents of the kris folder. The name of the folder you are currently viewing appears at the top of the page. / is the root folder for your organization.
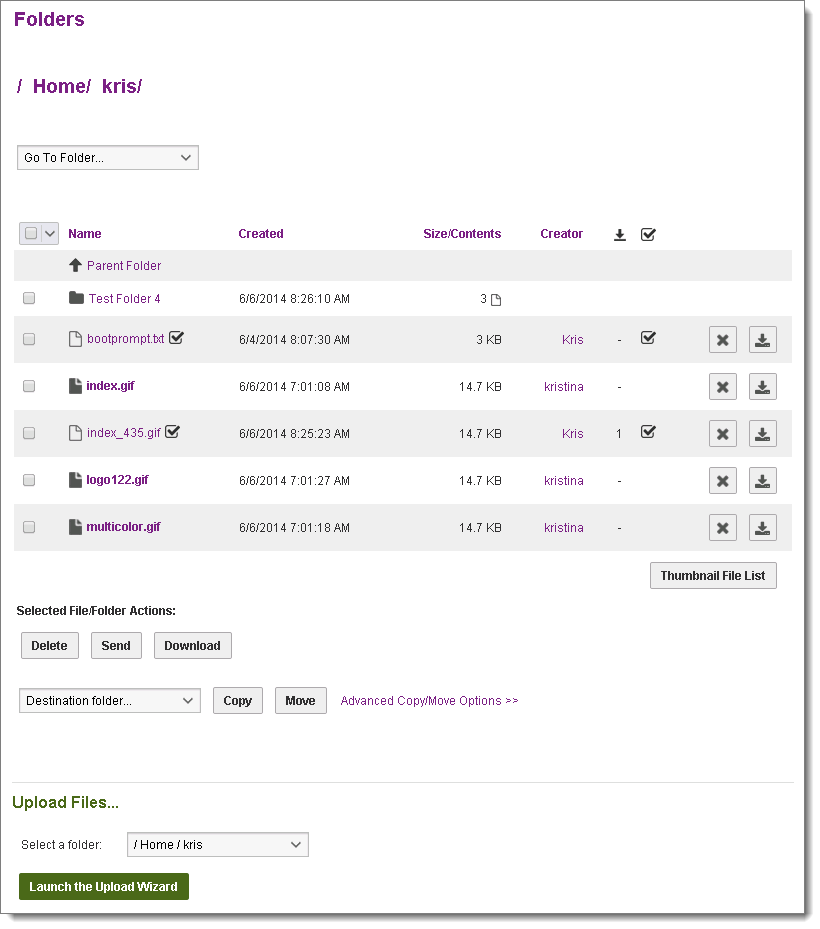
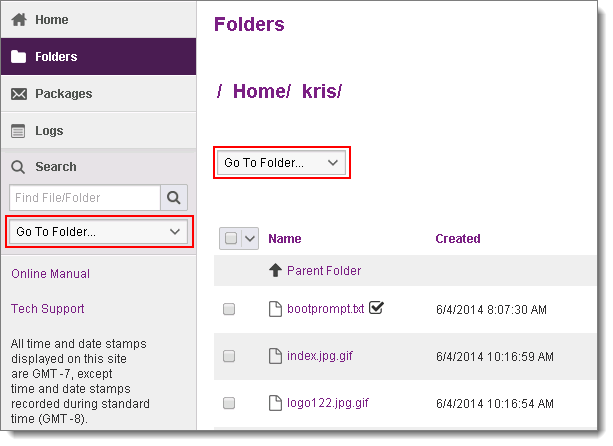
To view other folders, use the Go to Folder drop-down menu. To search for a folder, use the Find File/Folder tool.
A table lists the folder's contents. Each line in the table contains a file, a subfolder, or a virtual folder. If you have permission, you can Add a Folder to create sub-folders.
The number of items that appear on a page is set by your administrator. Page navigation links appear if the number of items exceeds the per-page limit.
The table contains details about each file, subfolder and virtual folder. See View Folders for a description of each field.
Click any column header to sort the list by the values in that column.
Depending on your permissions, you might also see action buttons in each row:
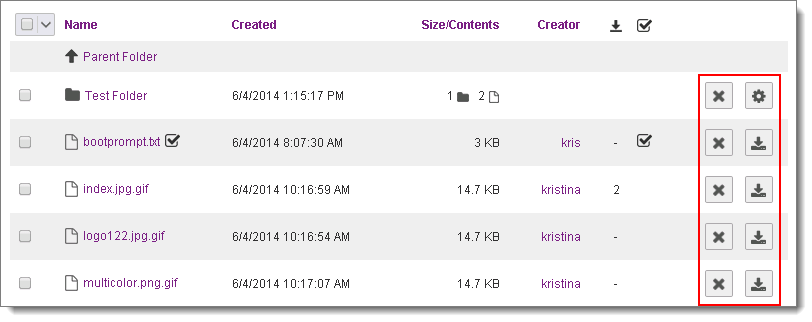
![]() Delete a folder or file
Delete a folder or file
![]() Edit a folder's permissions and settings (available only to users with proper permissions)
Edit a folder's permissions and settings (available only to users with proper permissions)
![]() Download a file
Download a file
Use the selector tool at the top of the table to quickly select All files, only New files, only Old files, or None to deselect all files. Similarly, you can select All folders, only Empty folders, only Not Empty folders, or None to deselect all folders.
After selecting folders and files, you can perform the following actions using the buttons beneath the table, depending on your permissions:
Note: For WebPost and Archived Logs folders, selected files are downloaded as a single bundle file using the As Format option to determine the format of the resulting file. This download process does not use the MOVEit Download Wizard.
If a Thumbnail File List button appears beneath the table, click to switch to a thumbnail view of the folder's contents:
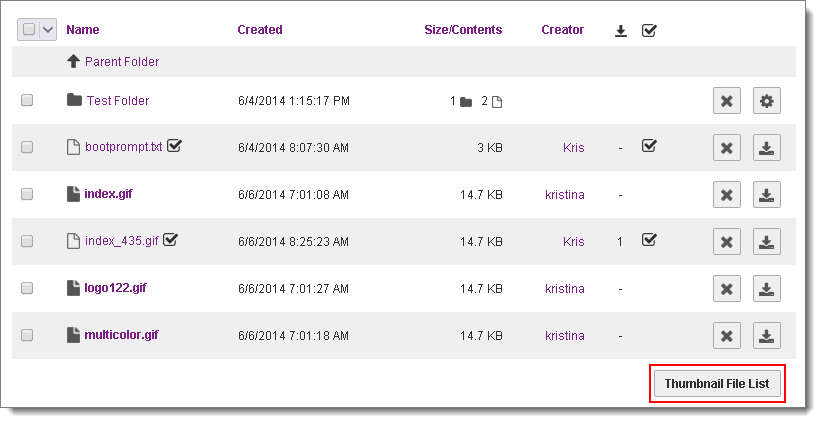
After you click Thumbnail File List, the files are displayed in thumbnail view:
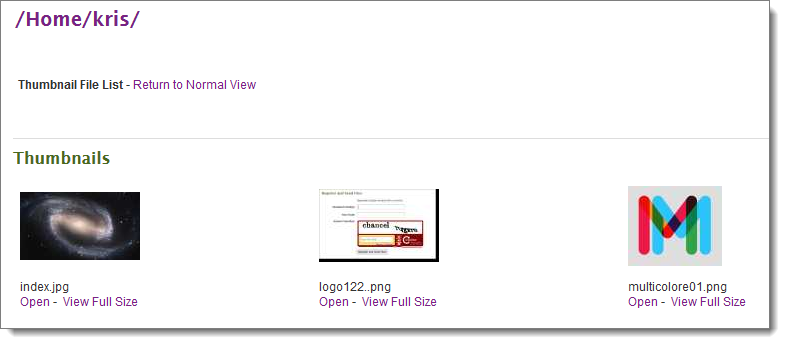
Under each thumbnail, the name of the file displays along with two links:
Click Return to Normal View to return to the text-only file list.
Upload a File
Depending on your permissions, you may also be able to Upload a File from the bottom of the page. If you have installed the Upload Wizard (ActiveX or Java), you can Launch the Upload Wizard:
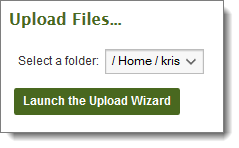
See Upload Files Using the Wizard.
If the Upload Wizard is not installed, you can upload a file by clicking Choose File (or Browse):
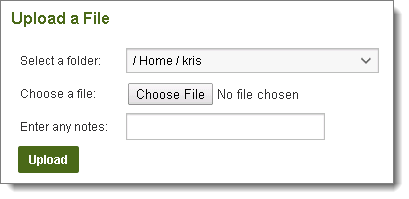
See Upload a File Without the Wizard.
See also Work with Files and Folders.