You may upload messages to a mailbox when you have the Upload Messages right in the current mailbox location.

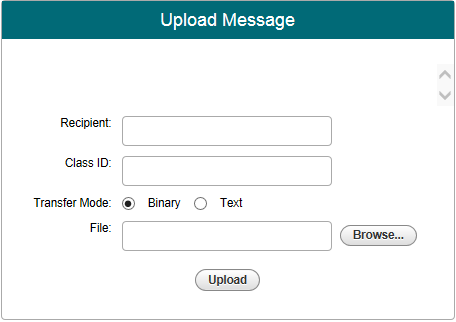
The Upload page appears.

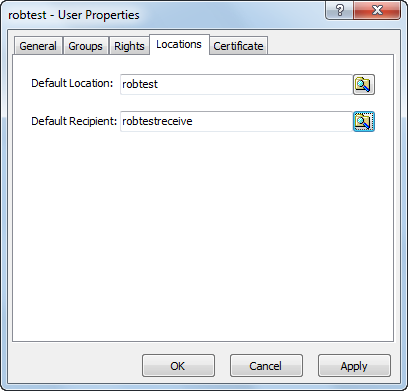
Note: If you want the Recipient: field of the Upload Message screen to be automatically filled in, then the Default Recipient: field on the Locations tab on the User Properties of the Web Client user in MessageWay must be filled in as shown below.

Note: You can specify multiple recipients separated by commas, but you must have upload rights to all of these recipients (including the {Dist} location) or the transfer will fail.
Note: You might see the term Appl ID instead of Class ID. Appl ID is a required field. It is not free-form text; it is restricted to 2-8 upper case letters (A-Z) and digits (0-9).

Note: The Web Client does not support file names that contain commas.
Note: Your administrator may place restrictions on maximum number of messages that may be uploaded and downloaded simultaneously.
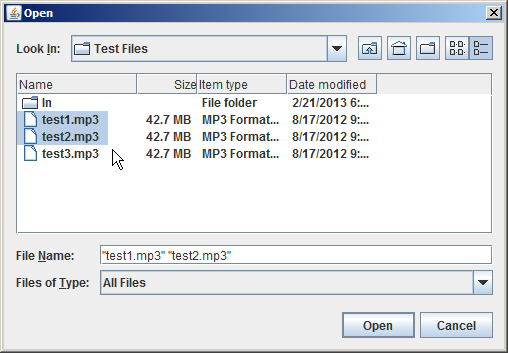
Click Open once you've selected all files.
The messages begin to upload. Transfer details display at the bottom of the screen.

You can view the status of each upload and percent complete, as well as the file name, file path origin, recipient, and class ID. While the upload is in progress, you can Pause, Resume or Cancel it.
When the upload is done, its Status changes to Completed. You can then click Close to remove it from the list if necessary..
Tip: Hover your mouse over a field to display the entire name if part of it is not visible.
See View Transfer Details for a description of items in this screen.
To hide the entire transfer details window, click Hide Detail.
IMPORTANT: If you close your web browser during an upload, the transfer will be canceled.
Note: If you refresh your browser during an upload, you must manually restart the transfer (text files will restart from the beginning; binary files will restart from the point of last data transferred).
Tip: To view all messages that you have uploaded (to any mailbox), click the Uploaded button.
Tip: To view messages that have been uploaded by any user to your default mailbox, click Available, Downloaded or Canceled.
Note: Shared users cannot upload messages. A shared user name is one that begins with SHR- such as SHR-Kristina. This prefix is not case-sensitive. Many users may log on to MessageWay with the same shared user name and download messages from the default mailbox location. The messages are not marked complete and not moved to the Downloaded folder.